Mix equal weights of flour and water, keep the jar comfortably warm, and feed it daily by removing part and refreshing the rest. A new starter may take 5–10 days to rise predictably, so follow its bubbles, smell, and growth rather than the calendar alone.
What you need to make a sourdough starter
A sourdough starter needs only flour, water, a clean jar, and time. A digital scale makes the process much easier because equal weights are more reliable than measuring flour by volume.
- A clean glass jar with plenty of room for the starter to expand.
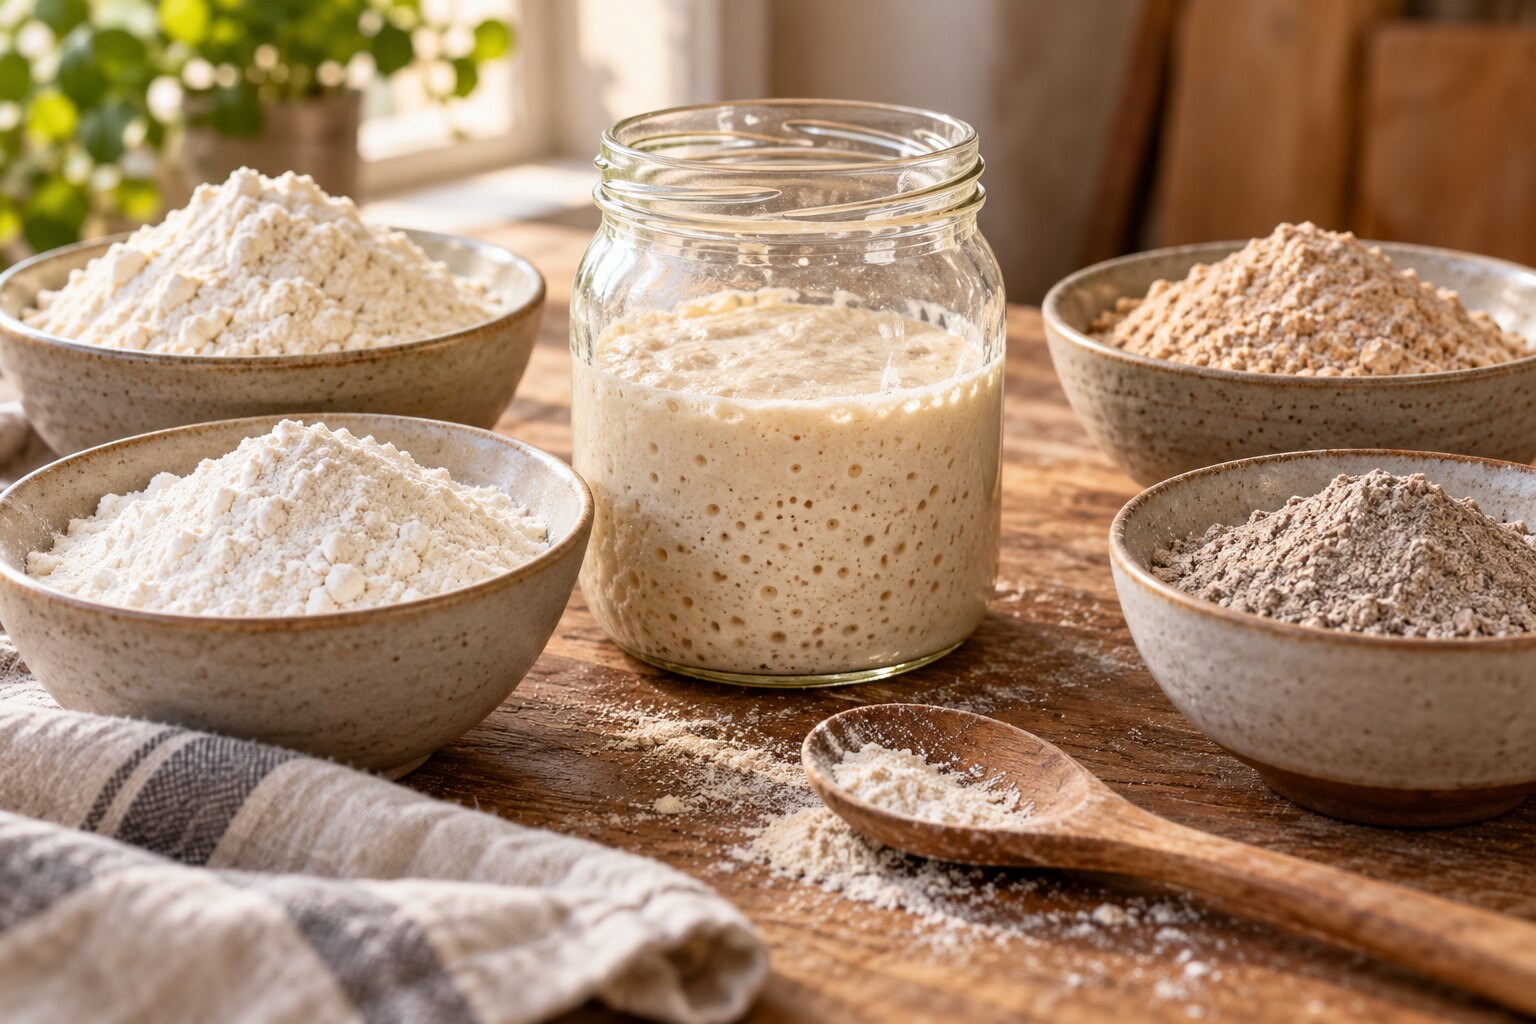
- Whole-wheat or rye flour for the first few feedings, plus all-purpose or bread flour if you prefer a lighter maintenance starter.
- Room-temperature water, ideally not strongly chlorinated.
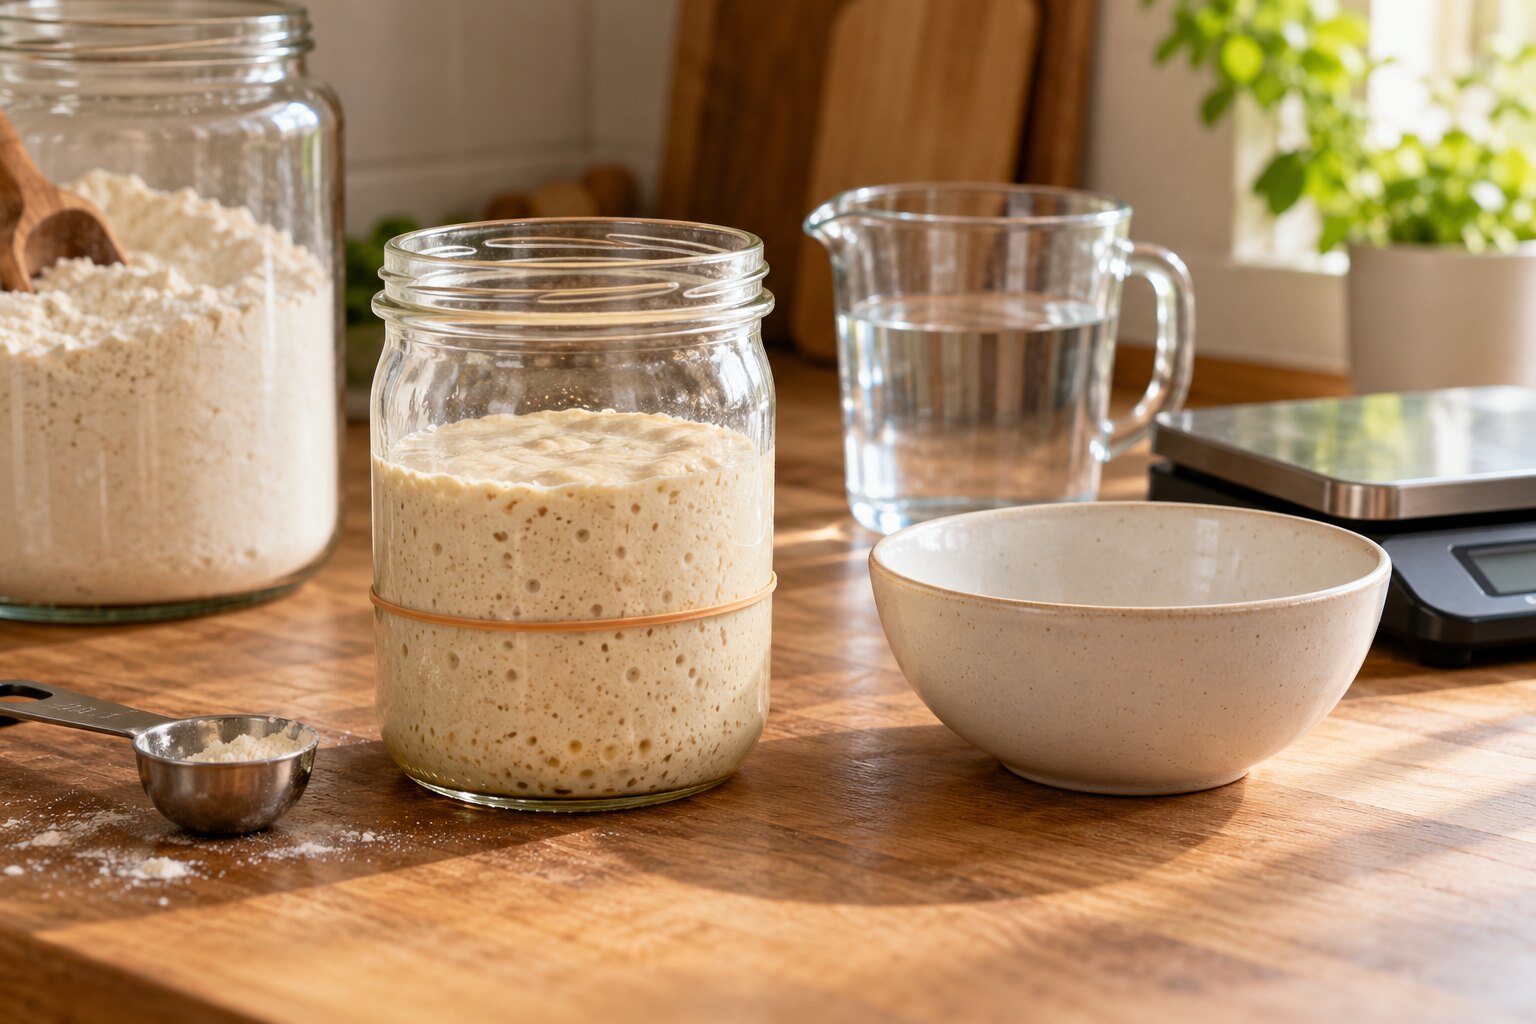
- A spoon or small spatula and a rubber band or washable marker to track the rise.
- A digital kitchen scale for consistent feeding ratios.
The basic sourdough starter ratio
A simple 1:1:1 feeding means equal weights of starter, flour, and water. For example, keep 25 g starter and add 25 g flour plus 25 g water. This gives the culture fresh food without creating a large jar.
| Ratio | Example feeding | When to use it |
|---|---|---|
| 1:1:1 | 25 g starter + 25 g flour + 25 g water | A simple daily feeding while the starter is getting established. |
| 1:2:2 | 20 g starter + 40 g flour + 40 g water | When the starter is active and you want a longer fermentation window. |
| 1:3:3 | 10 g starter + 30 g flour + 30 g water | When a mature starter peaks too quickly or needs more fresh food. |
How to make a sourdough starter day by day
Day 1: Mix flour and water
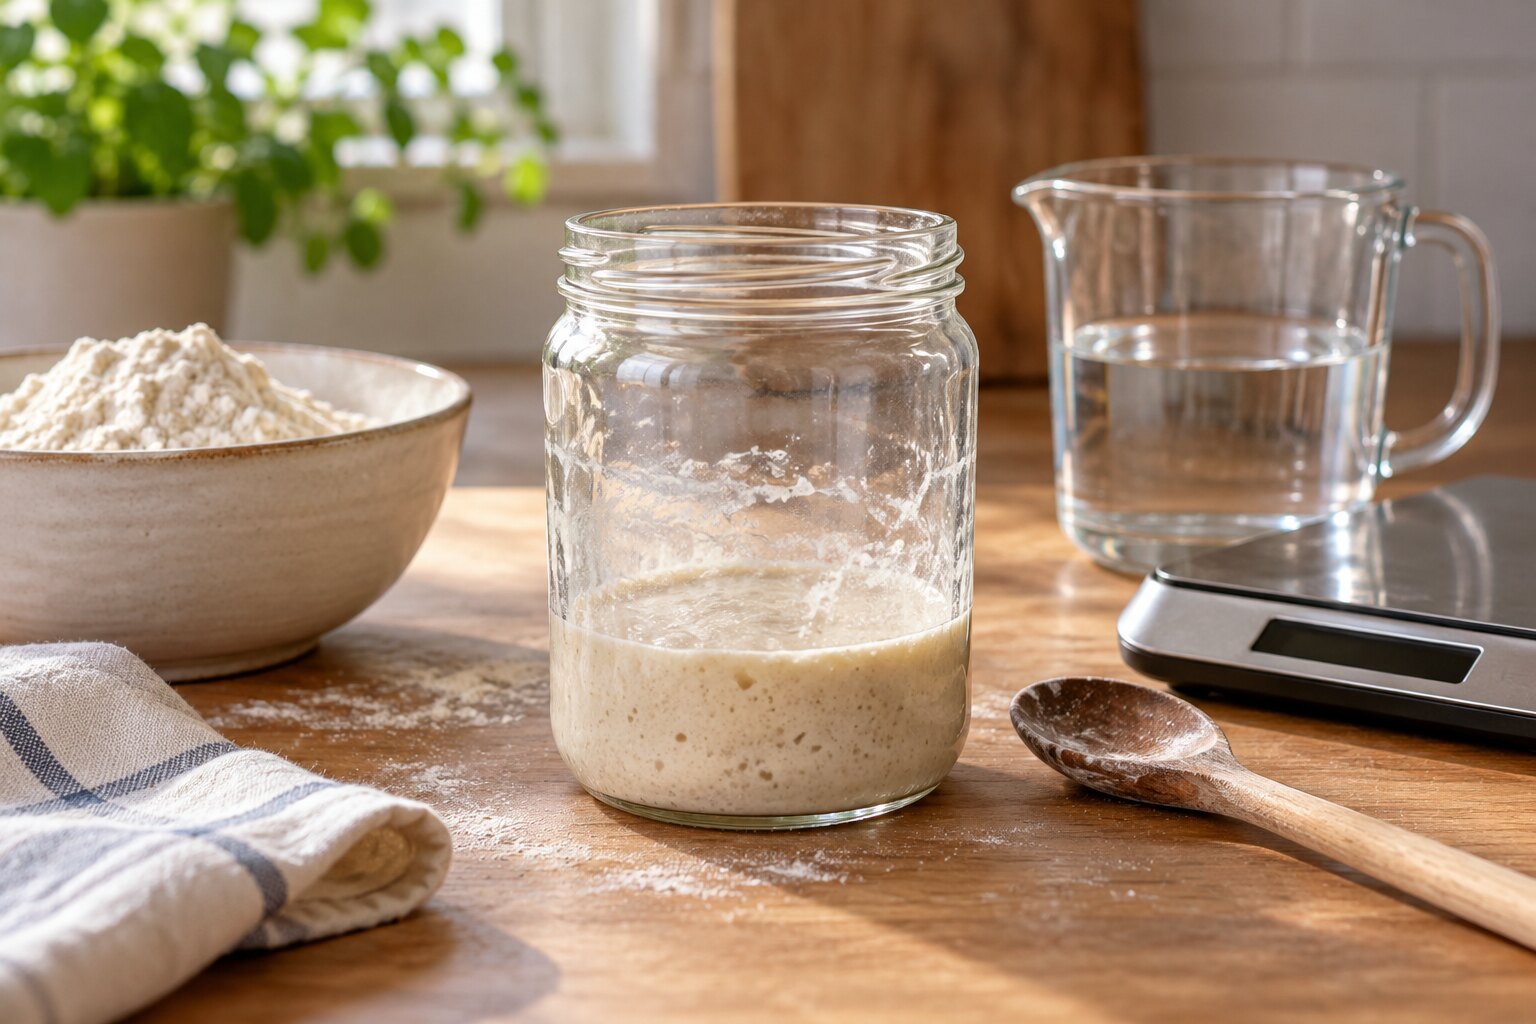
Mix 50 g whole-wheat or rye flour with 50 g water in a clean jar. Stir until no dry flour remains. Scrape down the sides, mark the starting level, and cover the jar loosely so air can move while pressure can escape.
Keep it in a comfortably warm place, ideally around 21–27°C. Do not place it directly on a radiator or in a hot oven. On the first day, the mixture may look quiet; that is normal.
Day 2: Check the first signs of activity
You may see a few bubbles, a slightly sour smell, or no visible change at all. Stir the mixture once, then keep 25 g and remove the rest. Add 25 g flour and 25 g water, mix well, mark the new level, and cover loosely again.
Day 3: Look for bubbles and aroma
The starter may become bubbly or rise and fall quickly. Early activity can be uneven, so one energetic day does not mean it is ready to bake. Repeat the 1:1:1 feeding and keep tracking how high it rises and how long that rise lasts.
Day 4: Stay consistent through the quiet phase
Many new starters become quieter around days three to five. This does not necessarily mean the culture failed. Continue keeping 25 g starter and feeding it with 25 g flour and 25 g water every 24 hours. If the jar smells pleasantly tangy and shows small bubbles, fermentation is continuing.
Day 5: Watch the rise, not just the bubbles
If the starter is rising noticeably within 12 hours, you can move to a 1:2:2 feeding to give it more food. Keep 20 g starter, then add 40 g flour and 40 g water. If it is still barely moving, stay with 1:1:1, keep it warmer, and give it more time.
Day 6: Build a repeatable routine
A stronger starter should show bubbles throughout the jar, a lighter texture, and a clear rise line. Feed it at roughly the same time and note the room temperature. If it doubles in less than four hours and collapses long before you can use it, a larger feeding ratio may help.
Day 7 and beyond: Confirm that it is ready
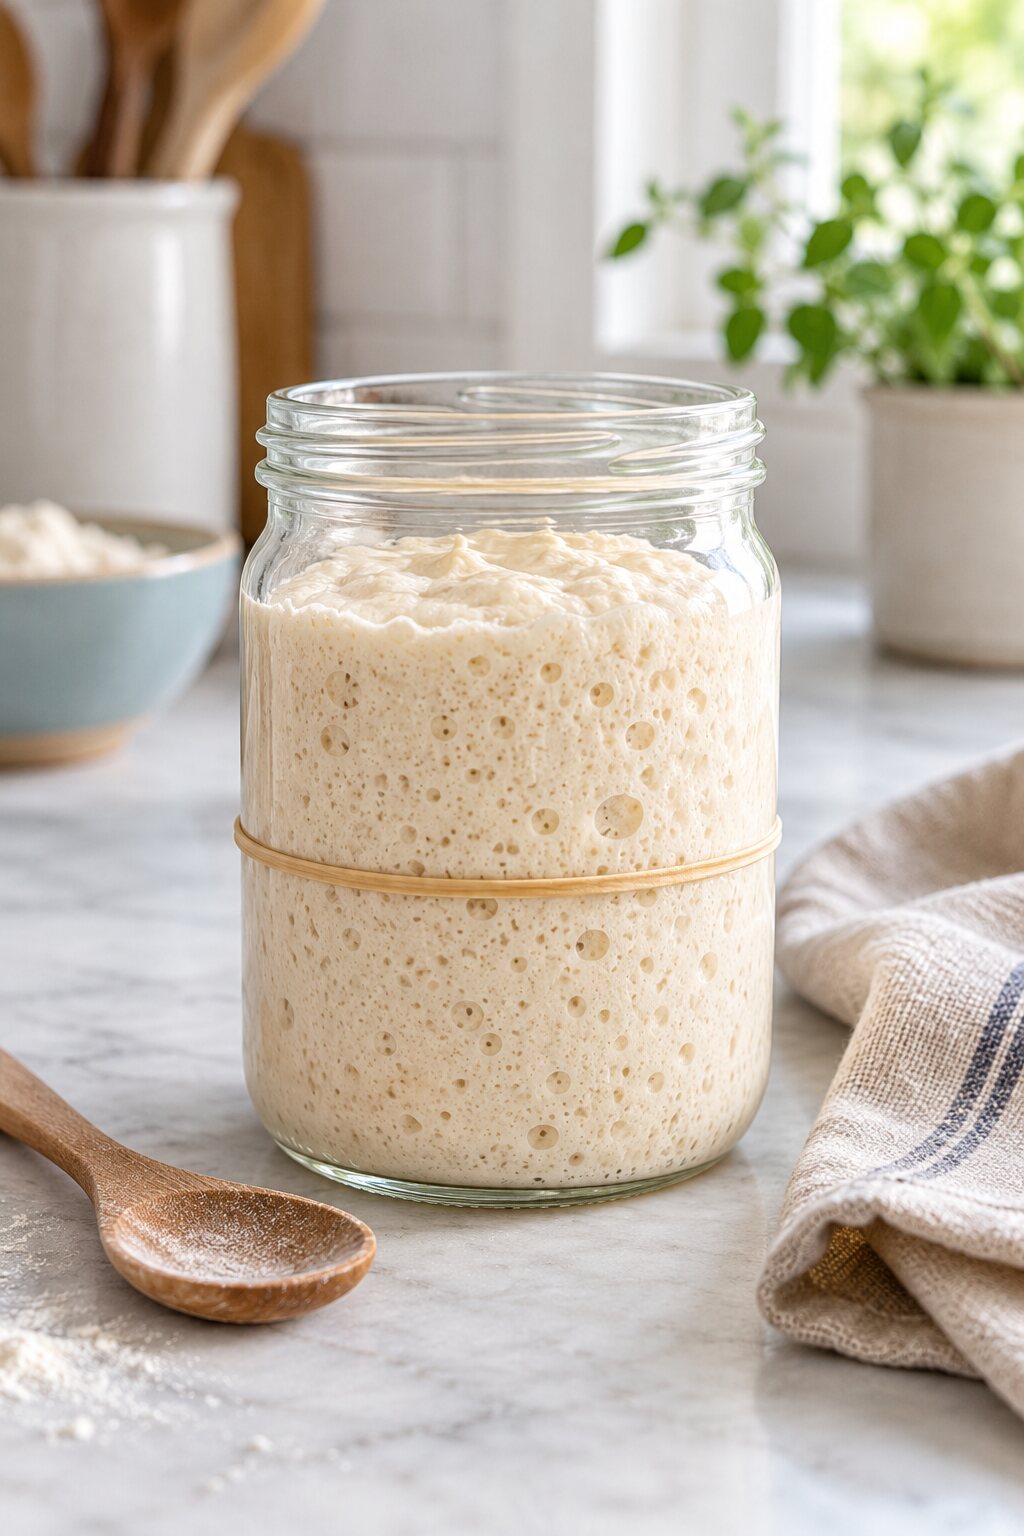
Your starter is ready for bread when it rises predictably after feeding for at least two or three cycles. It should look aerated, smell pleasantly tangy, and reach its peak within a useful baking window. Some starters are ready around day seven; others need ten to fourteen days.
Day-by-day starter checklist
| Day | What to do | What to look for |
|---|---|---|
| 1 | Mix flour and water and mark the level. | A thick paste; activity may be invisible. |
| 2 | Keep a small amount and refresh it. | A few bubbles or a mild sour smell, or no change yet. |
| 3 | Repeat the same feeding. | Bubbles, a rise, or an early burst of activity. |
| 4 | Stay consistent through the quiet phase. | Small bubbles and a developing tangy aroma. |
| 5 | Adjust to 1:2:2 only if the starter is active. | A clearer rise and lighter texture. |
| 6–7+ | Feed until the rise is repeatable. | Bubbles throughout, predictable doubling, and a gently domed peak. |
How to know your starter is ready to bake with
Use several signs together rather than relying on one test. A mature starter usually doubles or follows its normal peak pattern after feeding, has bubbles on the sides and surface, feels light when stirred, and smells pleasantly tangy. The top may be gently domed at peak activity and begin to flatten as it starts to fall.
The float test is optional and can be inconsistent. For a more useful answer, track the rise in a straight-sided jar for a few feedings. The guide When Is Sourdough Starter Ready to Bake With? explains the visual clues in more detail.
Common problems when making a starter
Before you use it in bread
Feed the starter so it reaches peak activity close to the time you plan to mix your dough. Keep a small portion behind as your maintenance starter, then use the rest in your recipe. If the starter has been refrigerated, bring it back to room temperature and refresh it until it rises predictably again.
Once your starter is rising predictably, the next step is learning exactly when to mix, ferment, shape, proof, and bake. The Original Sourdough Bread Recipe walks you through the full process step by step. Get the Beginner Sourdough Guide →. For a low-maintenance routine between bakes, learn How to Store Sourdough Starter in the Fridge.
The simple routine to remember
- 01Mix flour and water on day one and mark the starting level.
- 02Keep a small amount and feed it consistently every day while it develops.
- 03Use temperature, bubbles, aroma, and rise time together to judge progress.
- 04Wait for two or three predictable rises before baking your first loaf.
- 05Keep the mature starter small and refrigerate it when you are not baking often.