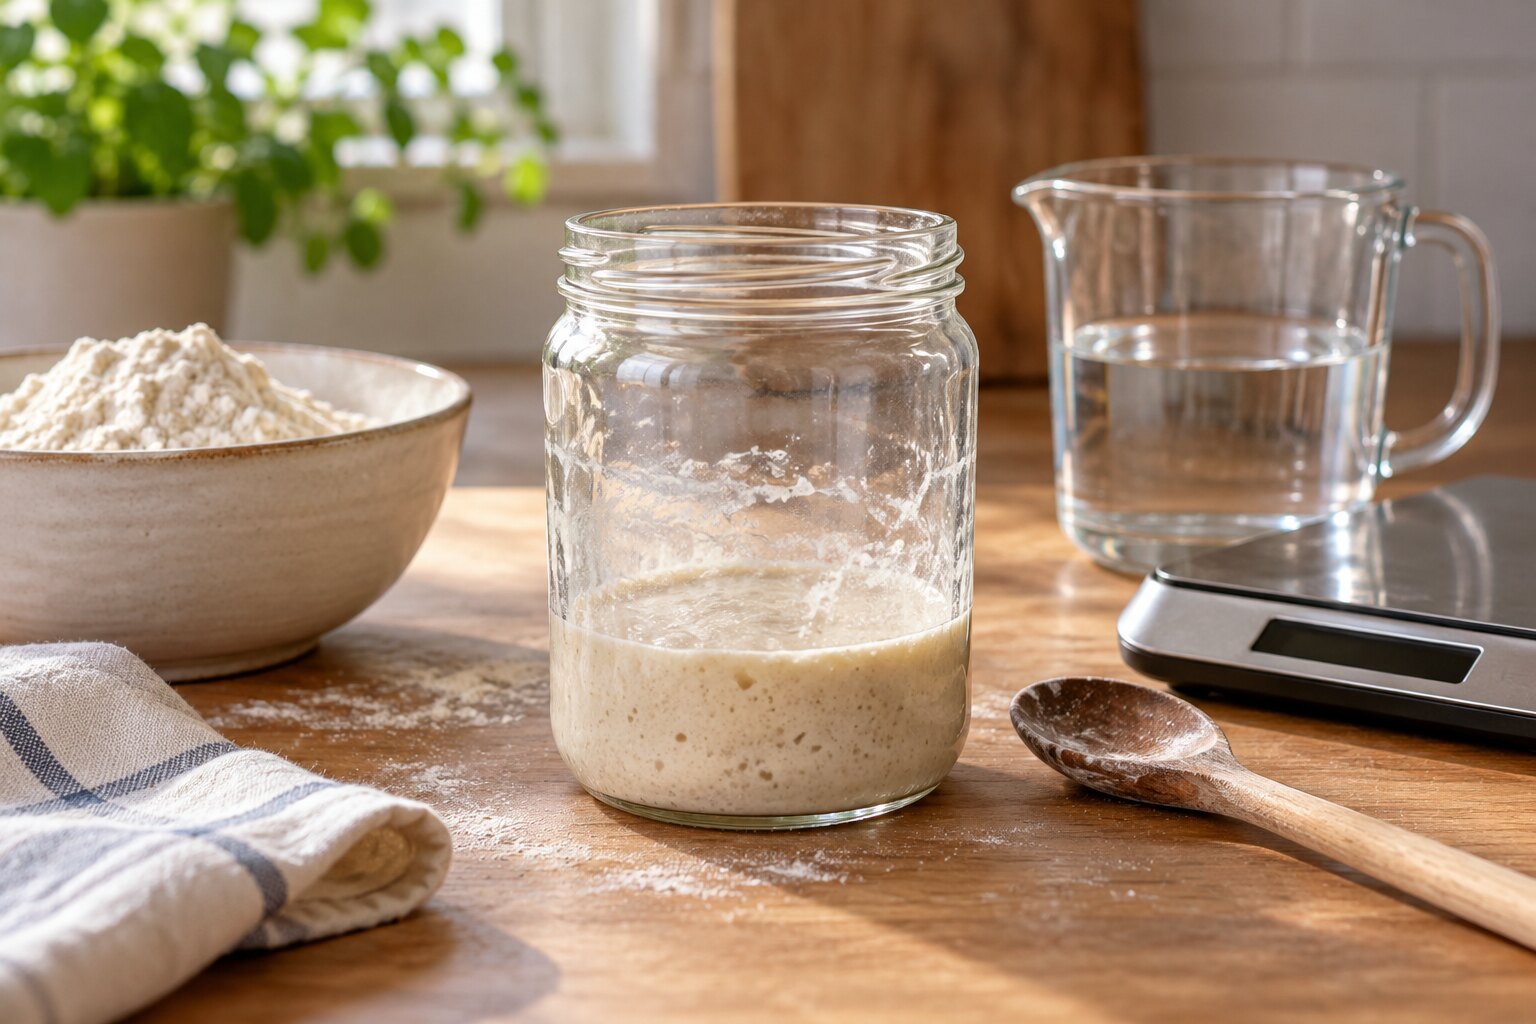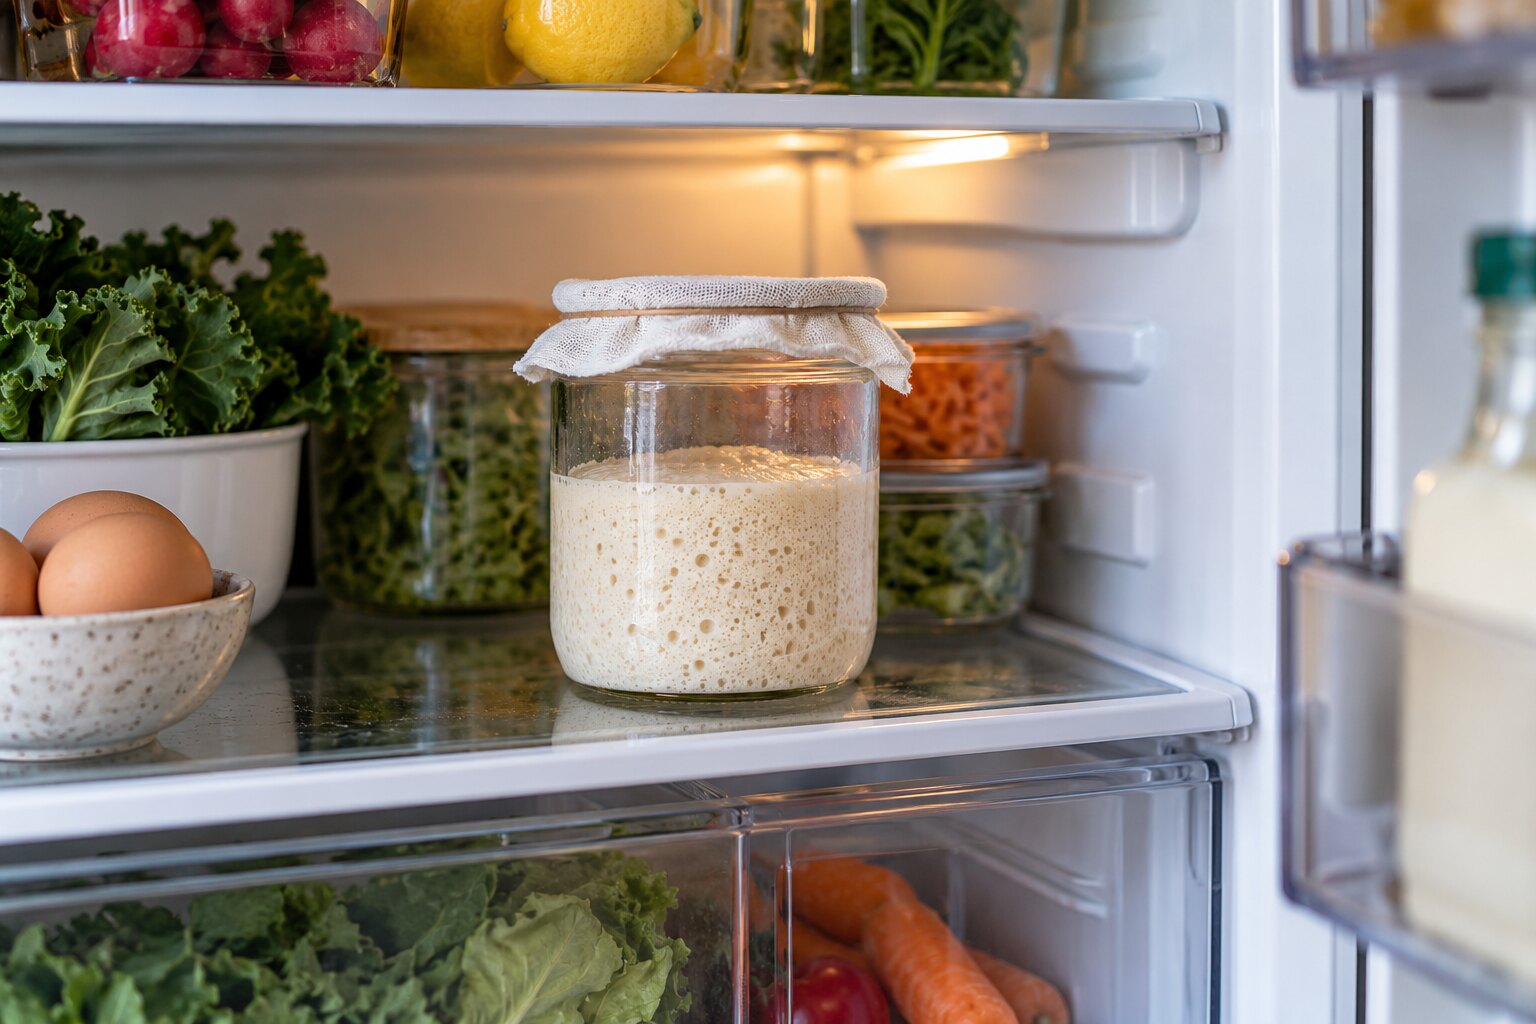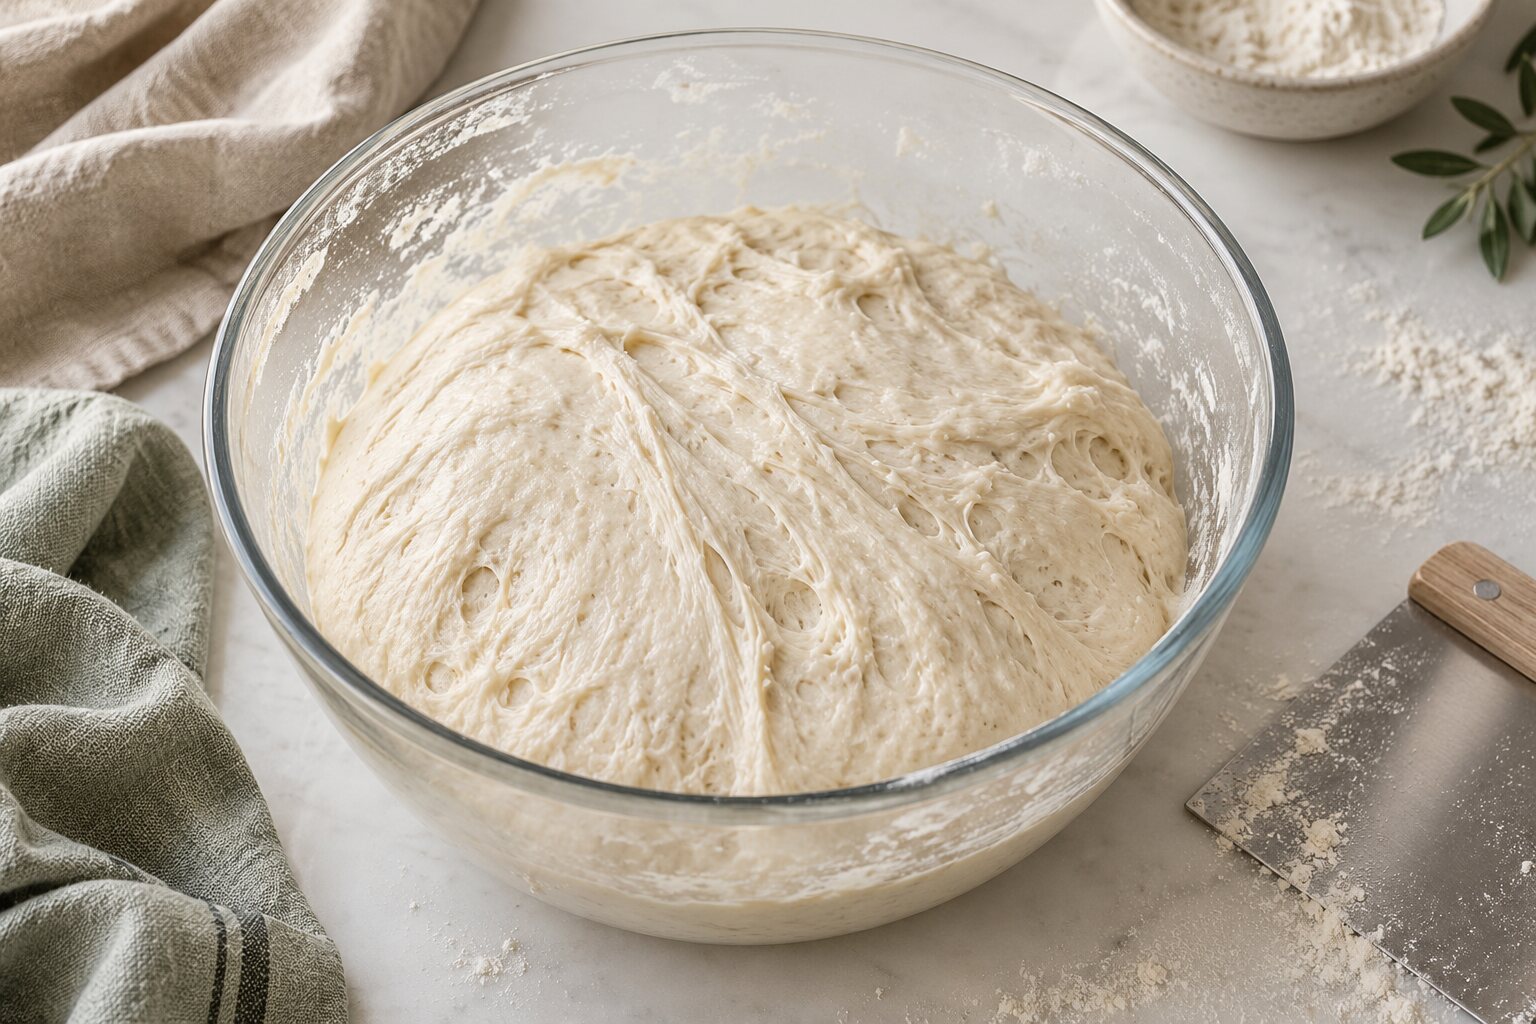
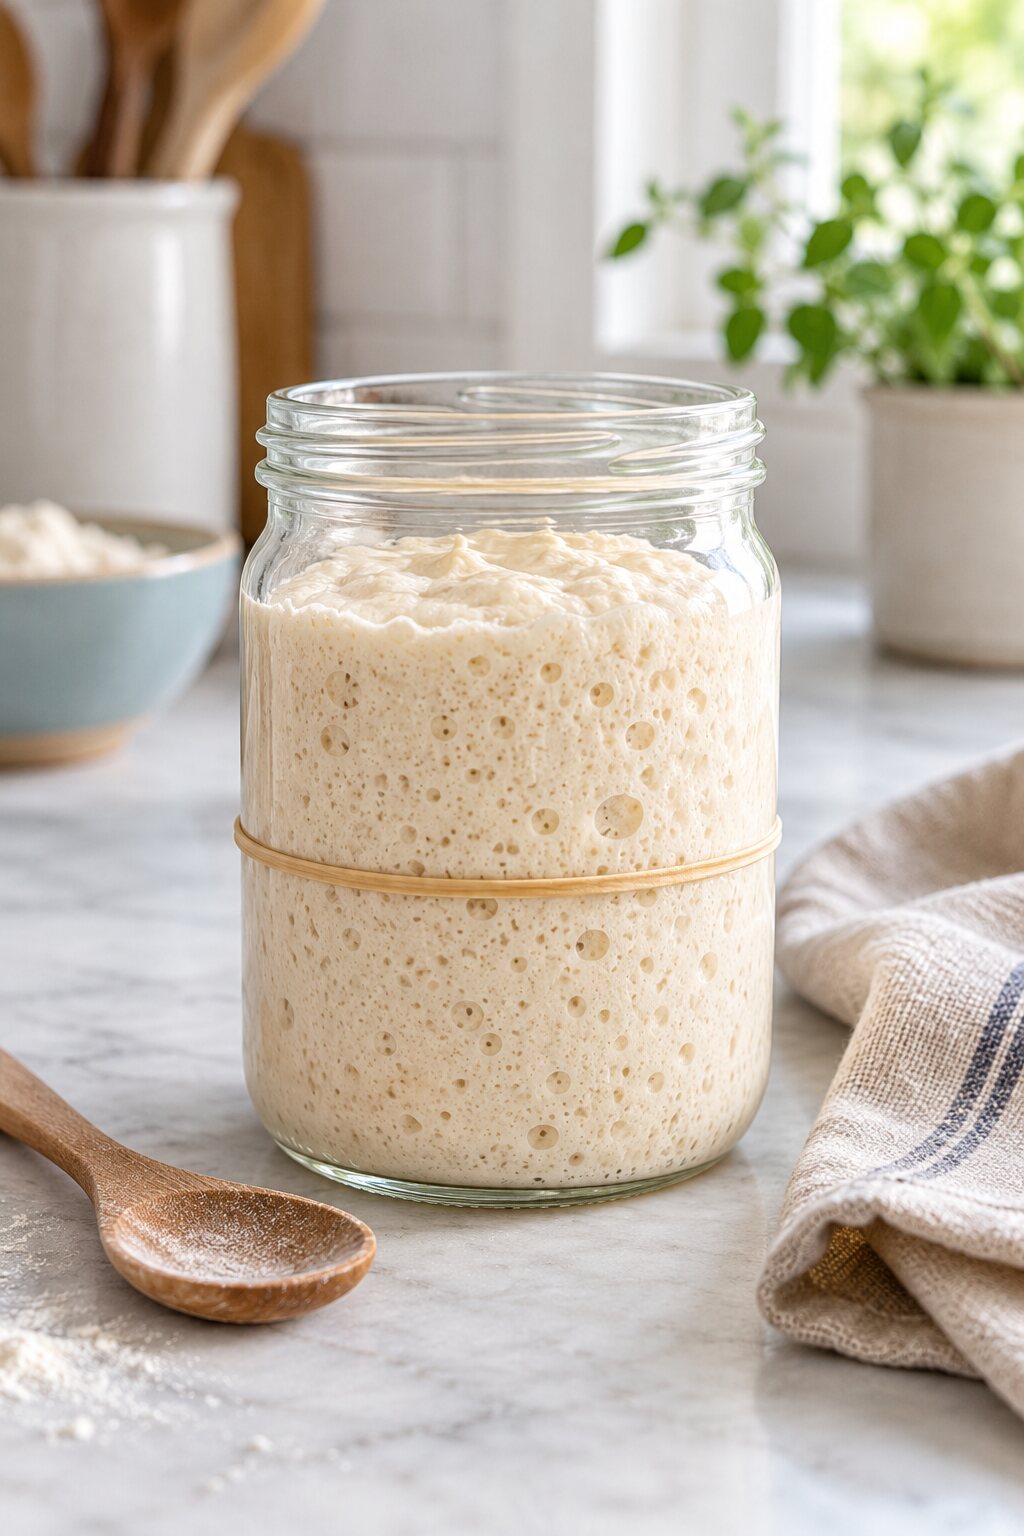
Your starter is usually ready to bake with when it reliably doubles or more after feeding, has bubbles throughout, looks slightly domed, and is near its peak rather than already collapsed.
The short answer
A starter is ready when it is predictable, lively, and close to its highest point after a feeding. Look for a noticeable rise, bubbles on the sides and surface, a lightly domed top, and a fresh tangy smell. A single float test can be interesting, but it is less useful than watching how your starter behaves over several feedings.
6 signs your starter is ready to bake with
1. It rises reliably after feeding
The most useful sign is repeatability. If your starter rises to double its original height after feeding on several days, it has enough strength to leaven dough. Some starters double; others triple or peak at a little less, depending on flour, temperature, and feeding ratio.
2. Bubbles appear throughout the jar
Look through the glass, not only at the top. A ready starter usually has small and medium bubbles distributed through its body. A few bubbles on the surface can mean fermentation has started, but a lively interior shows that the culture is producing gas all the way through.
3. The top is slightly domed
A rounded or gently domed top suggests the starter is still holding the gas it produced. When the top flattens and then sinks, the starter has moved past its peak. You can still use it, but the dough may ferment more slowly and taste more acidic.
4. The smell is pleasantly tangy
A healthy starter can smell like yoghurt, ripe fruit, mild vinegar, or fresh flour. Sharp acetone or nail-polish-remover aromas usually mean it is hungry and has gone too long without food. That does not automatically mean it is ruined; feed it consistently and watch the rise.
5. The texture looks aerated and webby
When you stir a mature starter, it should feel lighter and show strands or pockets of air. A thin, completely liquid starter may need a stronger feeding or a cooler, shorter fermentation window.
6. The timing fits your recipe
If you are still learning how starter, bulk fermentation, and proofing fit together, The Original Sourdough Bread Recipe gives you one complete beginner-friendly process to follow. Use your starter near peak activity, then move into the dough while it still has strength.
How to time your starter’s peak
Temperature and feeding ratio change the clock. At around 21°C, a 1:1:1 feeding may peak in roughly 6–10 hours. A larger feeding such as 1:3:3 can take longer. In a warm Moroccan or summer kitchen, the same starter may peak much sooner; in a cool European kitchen, it may need extra time.
For one practical example, feed at 08:00, mark the level, and check at 12:00, 15:00, and 18:00. Note the highest point, smell, and how long it takes to begin falling. After two or three days, you will have a personal timetable that is more useful than a generic chart.
What if you miss the peak?
If the starter has only just started to flatten, use it or feed it immediately. If it has collapsed dramatically and smells strongly acidic, refresh a small amount with fresh flour and water, then wait for a new rise. The goal is not to chase a perfect number; it is to use a starter that has enough gas-producing strength for your dough.
Common mistakes to avoid
- Judging readiness by bubbles on top alone.
- Using an airtight lid that prevents the starter from expanding safely.
- Comparing your starter to a photo instead of tracking its own rise.
- Assuming the float test is a guarantee of baking strength.
- Waiting for a specific number of hours without considering kitchen temperature.