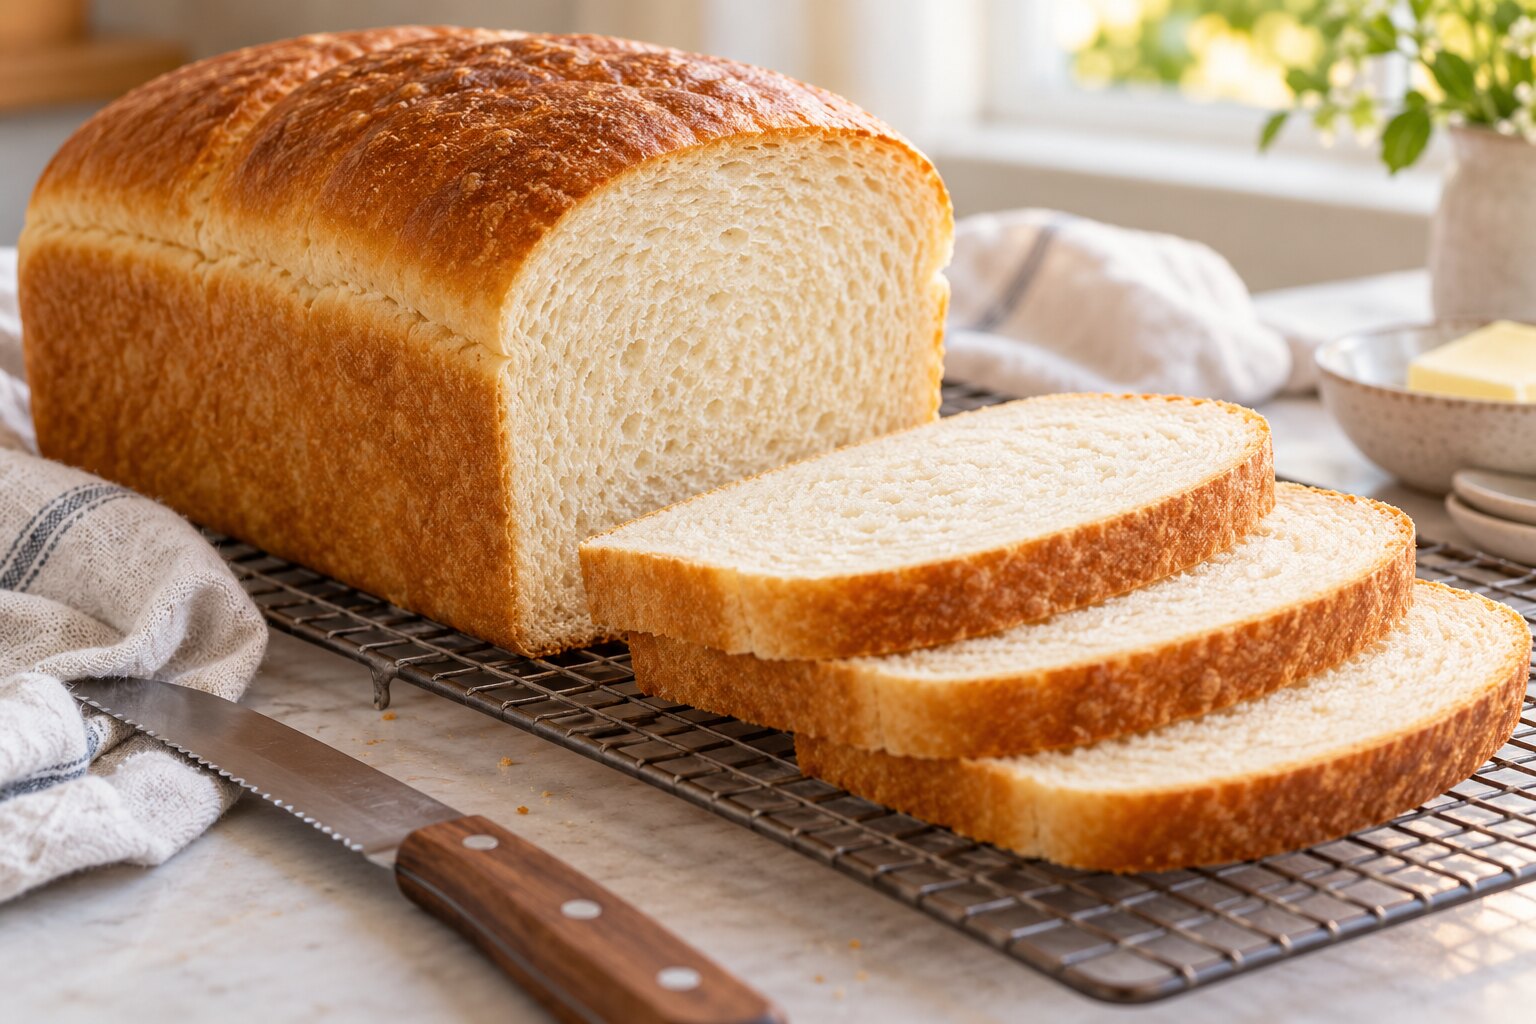
Use an active starter, enough liquid for a soft dough, and a loaf pan to support the shape. Ferment until puffy, proof until the dough reaches near the rim, then bake and cool completely before slicing.
Why this loaf is beginner-friendly
A loaf pan supports the dough while it ferments and bakes, so you do not need the same shaping tension as a free-standing boule. The small amount of honey and butter makes the crumb soft and the slices easy to use for breakfast, toast, or a packed lunch.
Recipe overview
Ingredients
- 500 g bread flour
- 300 g whole milk or water
- 100 g active sourdough starter
- 30 g honey
- 30 g softened unsalted butter
- 10 g fine sea salt
Step-by-step method
- 01Mix flour, milk or water, and honey until no dry flour remains. Rest for 30 minutes.
- 02Add active starter and salt. Mix until cohesive, then work in the softened butter.
- 03Complete three gentle stretch-and-folds during the first 90 minutes.
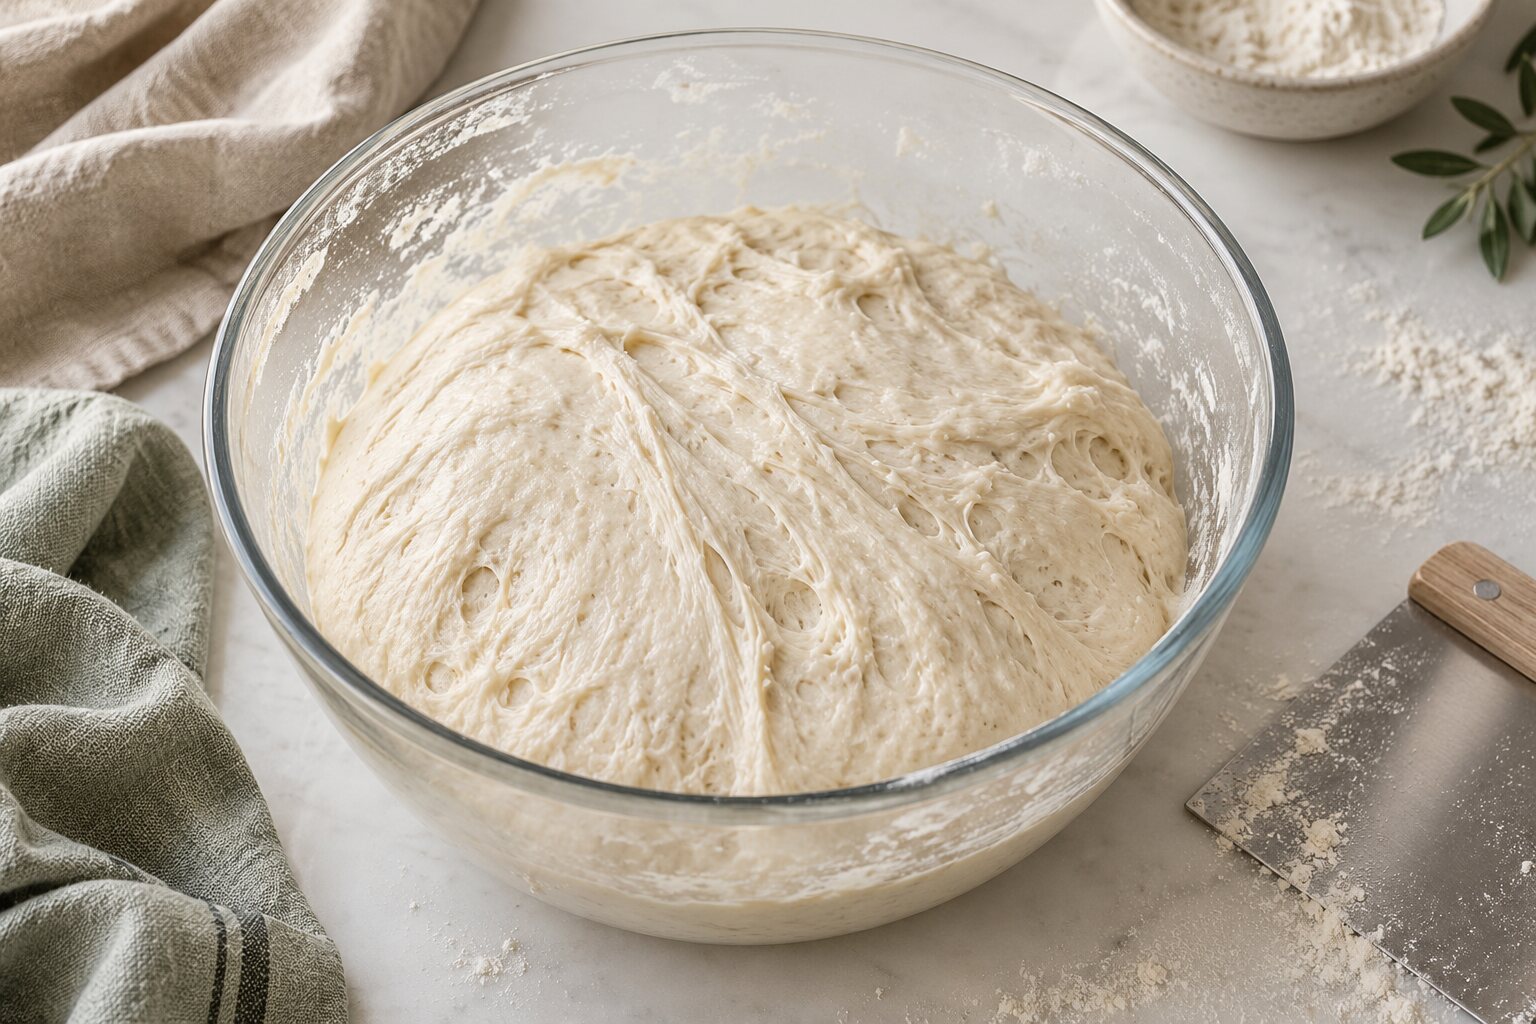
- 04Bulk ferment until the dough is smoother, lighter, and visibly expanded.
- 05Shape into a snug log and place seam-side down in a greased 23 × 13 cm loaf pan.
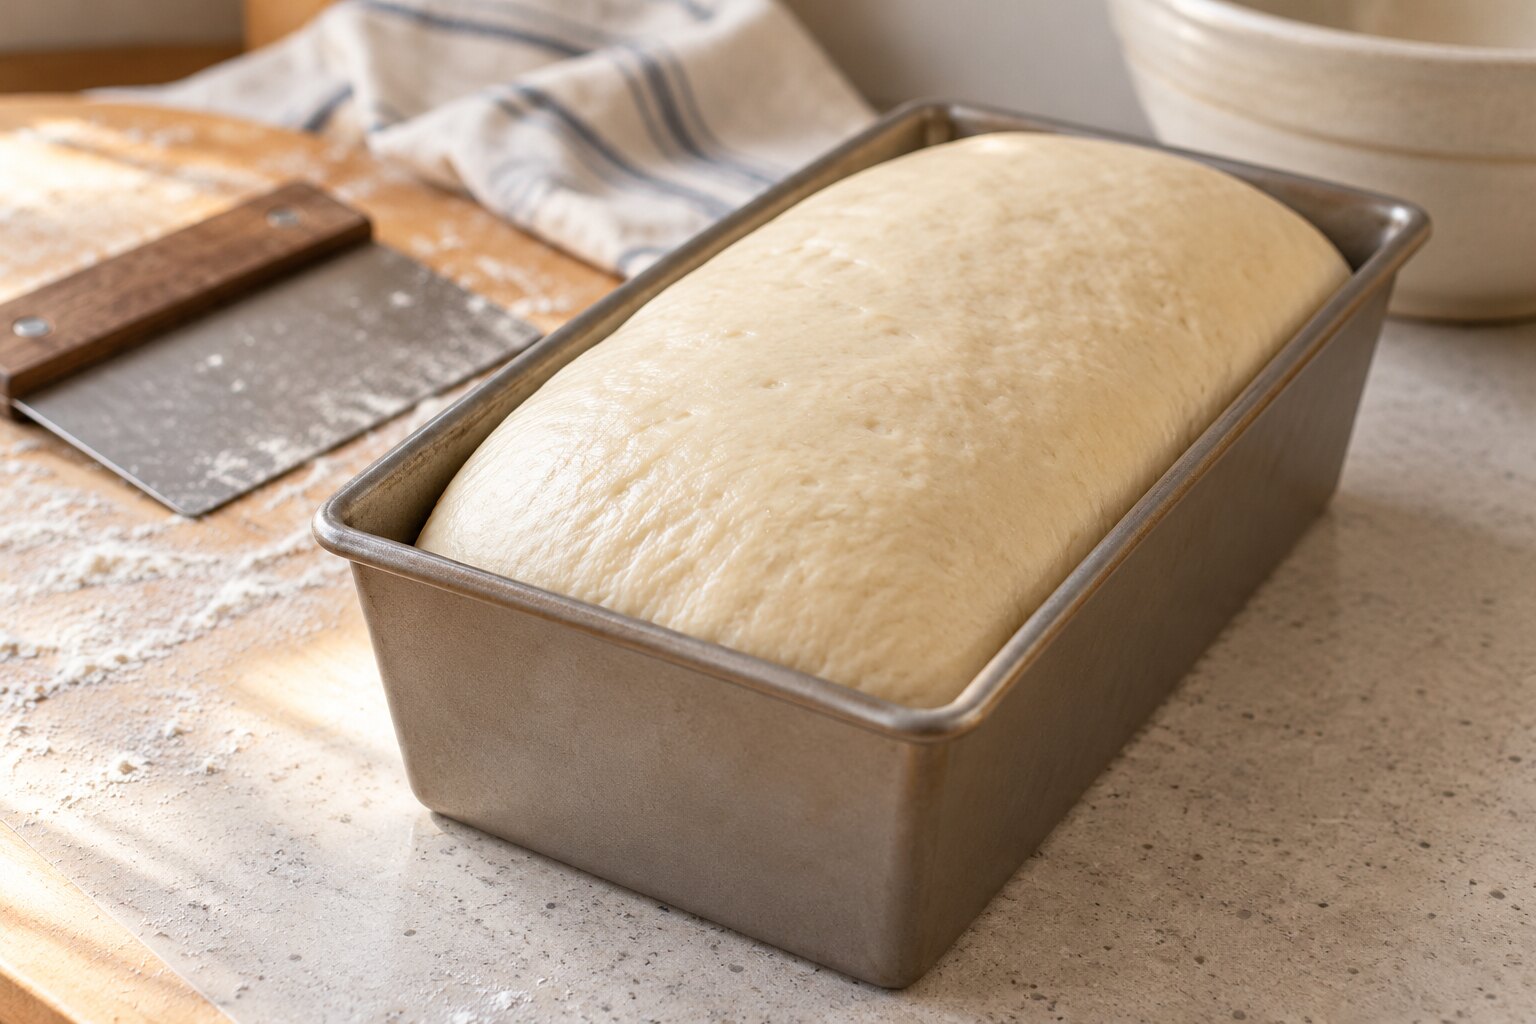
- 06Proof until puffy and close to the rim of the pan.
- 07Bake at 190°C for 35–40 minutes until golden. Cool fully before slicing.
What to look for at each stage
| Stage | The useful sign |
|---|---|
| After mixing | The dough is cohesive and no dry flour remains. |
| After folds | The dough feels smoother and holds together more easily. |
| End of bulk | The dough is lighter, expanded, and gently aerated. |
| Final proof | The dough is puffy and close to the top of the pan. |
| After baking | The crust is golden and the centre is set, not sticky. |
How to shape the loaf
Turn the dough onto a lightly floured surface and gently pat it into a rectangle. Fold the sides toward the centre, then roll it into a snug log from the short end. Pinch the seam closed and place the log seam-side down in the greased pan. Avoid pressing all the air out of the dough.
Common problems and fixes
Serving and storage
Let the loaf cool fully before slicing so the soft crumb can set. Keep it wrapped or in a bread bag at room temperature for two to three days. Slice and freeze what you will not use soon, then toast slices straight from frozen.
If you are still learning how fermentation changes the crumb, compare your result with How Should Sourdough Look Inside? and keep the same flour and formula for your next bake. For the core artisan loaf process, use The Original Sourdough Bread Recipe.
Easy Sourdough Sandwich Bread
Ingredients
- 500 g bread flour
- 300 g whole milk or water
- 100 g active sourdough starter
- 30 g honey
- 30 g softened unsalted butter
- 10 g fine sea salt
Instructions
- 01Mix the flour, milk or water, and honey until no dry flour remains. Rest for 30 minutes.
- 02Add the active starter and salt. Mix until the dough becomes cohesive, then work in the softened butter.
- 03Over the next 90 minutes, complete three gentle stretch-and-folds, spacing them 30 minutes apart.
- 04Cover and bulk ferment until the dough looks smoother, lighter, and visibly expanded.
- 05Shape the dough into a snug log and place it seam-side down in a greased 23 × 13 cm loaf pan.
- 06Proof until the dough looks puffy and reaches close to the rim of the pan, usually 1–3 hours depending on room temperature.
- 07Bake at 190°C until deeply golden and the loaf sounds hollow when tapped, about 35–40 minutes. Cool completely before slicing.