Most beginner sourdough problems come from using a weak starter, following the clock instead of the dough, rushing fermentation, or changing too many variables at once.
The good news about beginner mistakes
Sourdough has a learning curve, but most disappointing loaves are not random failures. They usually leave clues about starter strength, fermentation, hydration, shaping, or baking. Once you connect the clue to the cause, the next bake becomes much easier to control.
7 sourdough mistakes beginners make
1. Baking before the starter is ready
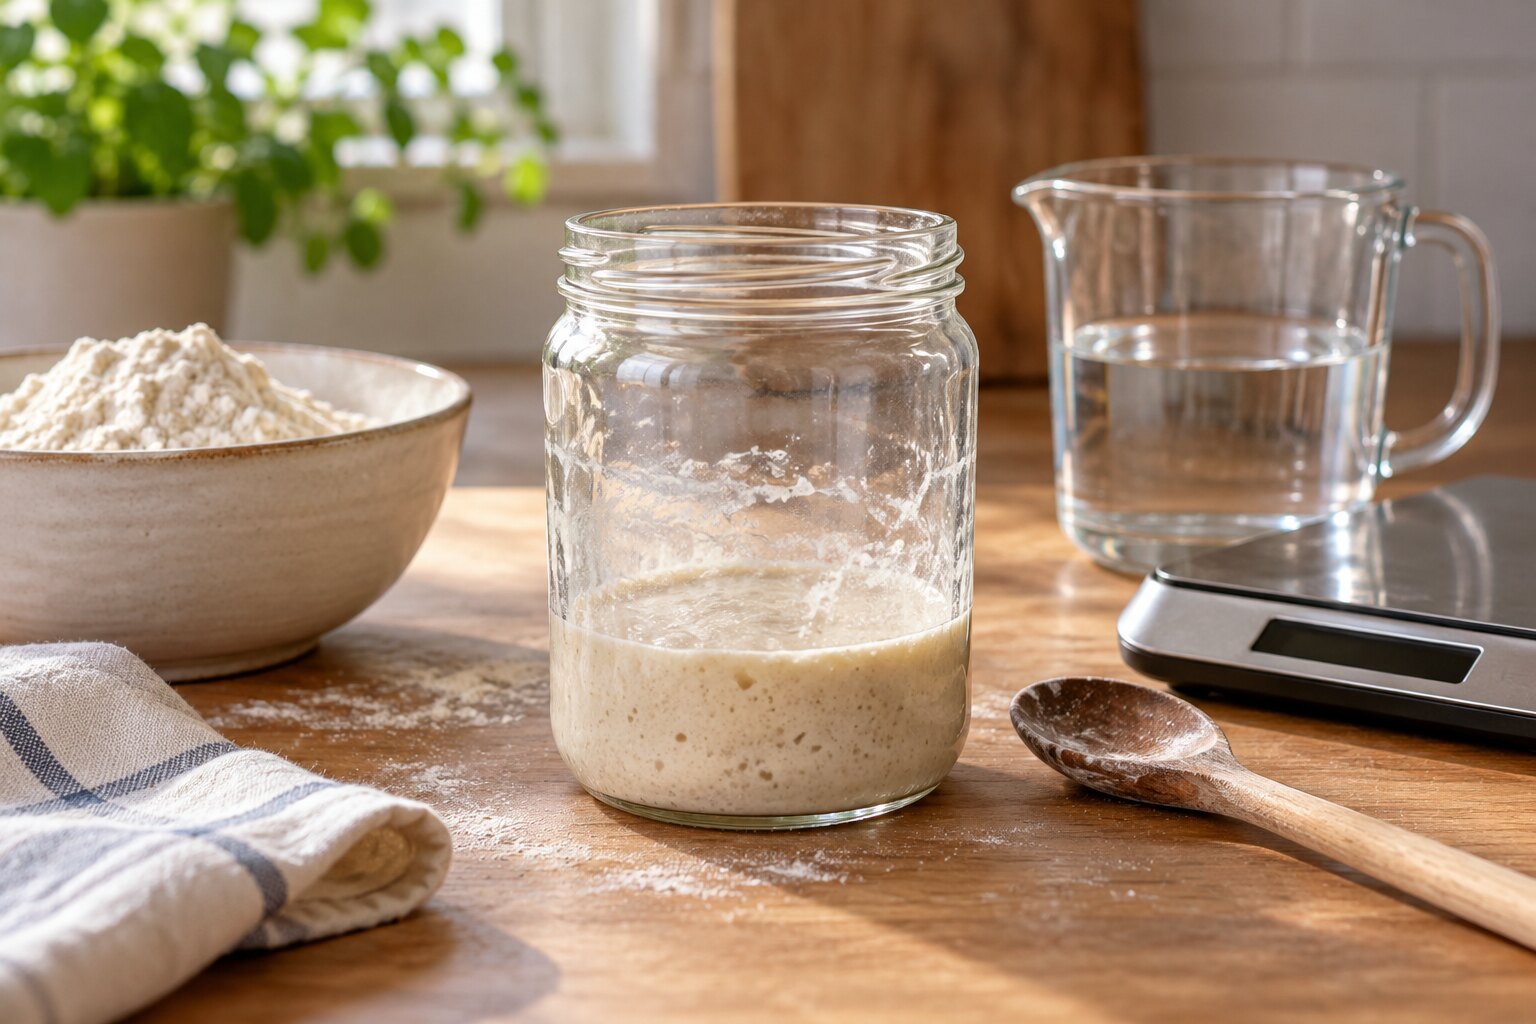
A few bubbles on the surface do not always mean that a starter can raise a loaf. A ready starter usually rises predictably after feeding, has bubbles throughout the jar, and smells pleasantly tangy rather than strongly sharp or solvent-like.
If your starter is quiet, use the guidance in Why Is My Sourdough Starter Not Rising? and wait for a repeatable rise before judging the bread recipe.
2. Following the clock instead of the dough
A recipe may say that bulk fermentation takes four hours, but your dough does not know the recipe clock. Flour, starter strength, dough temperature, room temperature, and hydration all change the timing.
Use time as a window, then look for a smoother surface, bubbles at the edges, a lighter feel, and a dough that jiggles when the bowl moves.
3. Adding too much water too soon
High hydration can produce an open crumb, but a very wet dough is harder to strengthen and shape. Beginners often add extra water because the dough feels dry at first, then discover that it never develops enough structure to hold its shape.
Start with a moderate hydration and learn how your flour behaves. You can increase the water after you can reliably mix, fold, shape, and bake the base dough.
4. Skipping strength-building folds
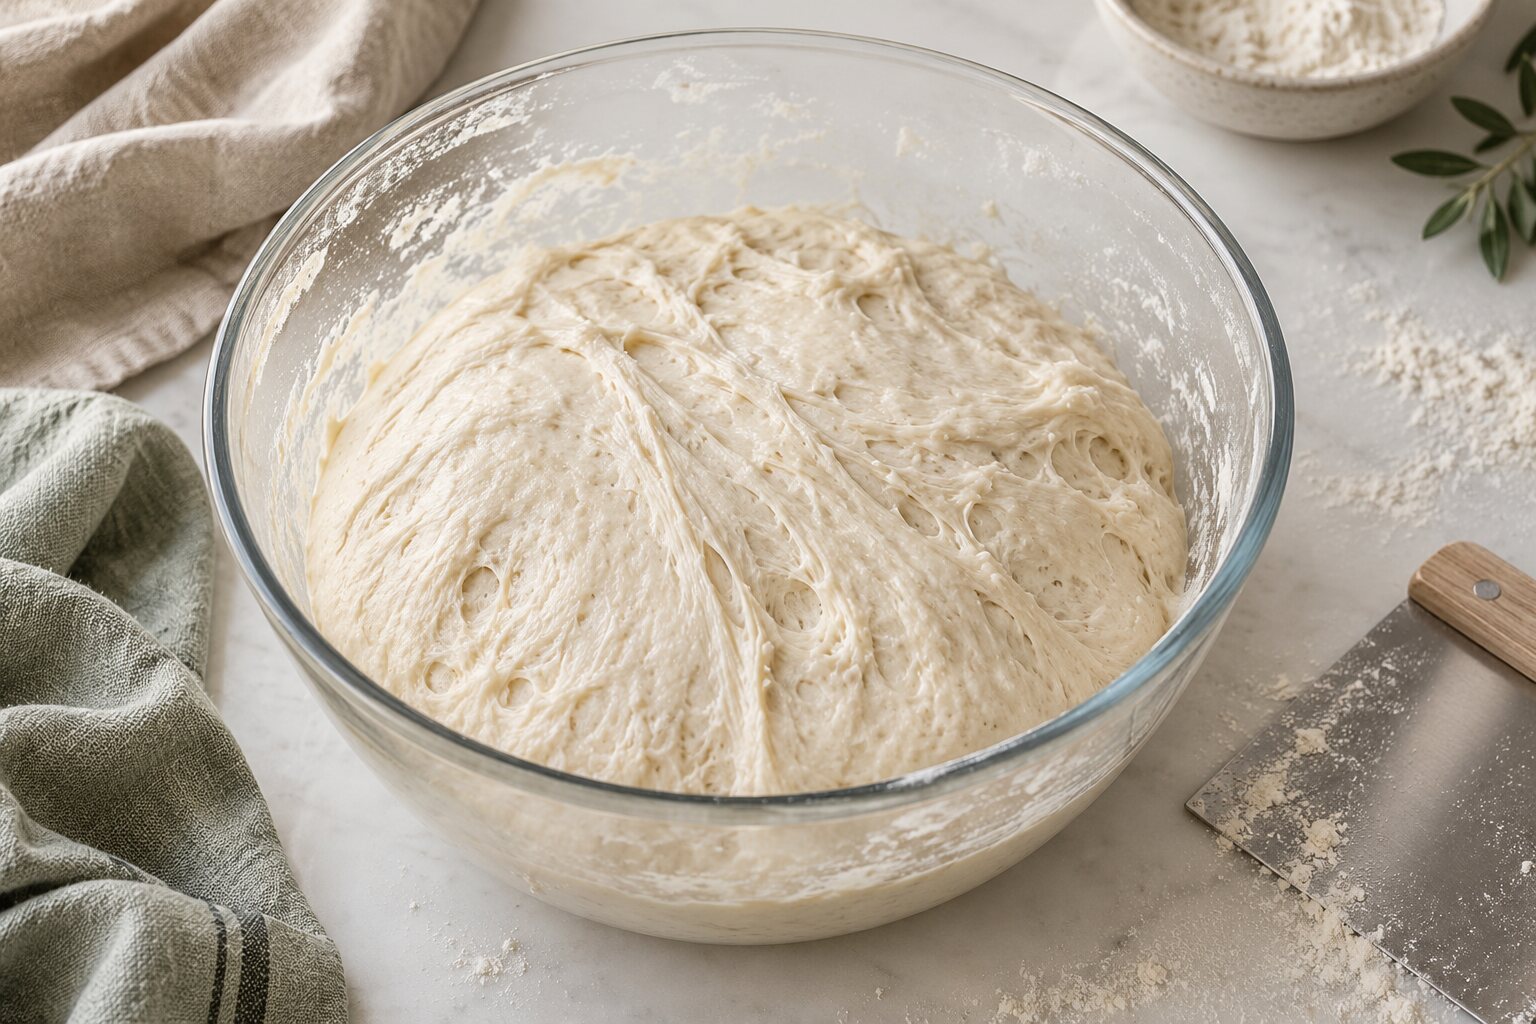
Stretch and folds are not busywork. They help organize gluten and give the dough enough strength to trap fermentation gases. If the dough spreads like a thick batter and never becomes more elastic, it may need more gentle strengthening during bulk fermentation.
Use wet hands, lift one side of the dough, fold it over, rotate the bowl, and repeat a few times. Space the sets out rather than pulling aggressively.
5. Letting the dough proof too far
Waiting for the dough to double dramatically can push it past its strongest point, especially in a warm kitchen. Overproofed dough may feel fragile, spread when turned out, and show very little oven spring.
Bake when the dough is puffy and airy but still has some strength. For a closer comparison, read Is My Sourdough Overproofed or Underproofed?.
6. Cutting the loaf while it is still hot
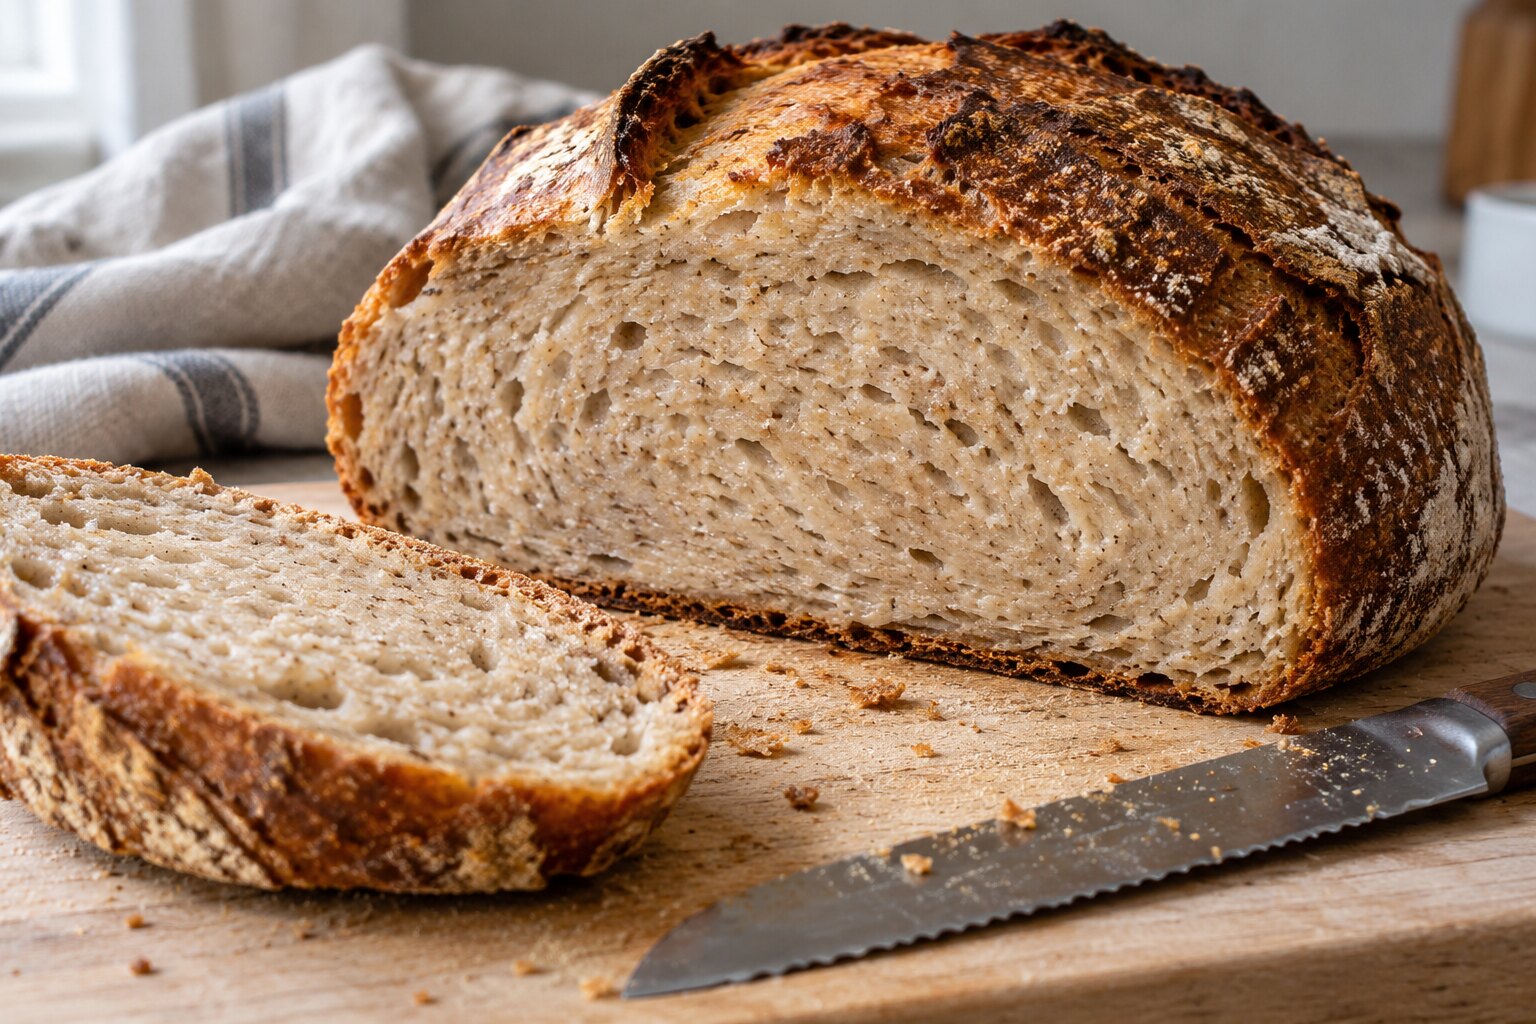
Fresh bread smells irresistible, but the crumb continues to set as the loaf cools. Cutting too early can make the inside look wet and gummy even when the bread was baked correctly.
Let a small loaf cool until barely warm and give a larger loaf more time before slicing. Use a serrated knife and avoid pressing down on the crust.
7. Changing everything after one disappointing loaf
One loaf cannot tell you whether your flour, starter, hydration, fermentation, or oven caused the problem. Changing the whole formula at once makes the next result harder to interpret.
Write down the flour, dough temperature, feeding time, bulk duration, proof duration, and final result. Then make one measured adjustment on the next bake.
A simple reset for your next bake
- 01Feed the starter in a straight-sided jar and mark its starting height.
- 02Use the same flour and a moderate hydration for one or two bakes.
- 03Record the dough temperature and watch for fermentation signs instead of relying on one exact hour.
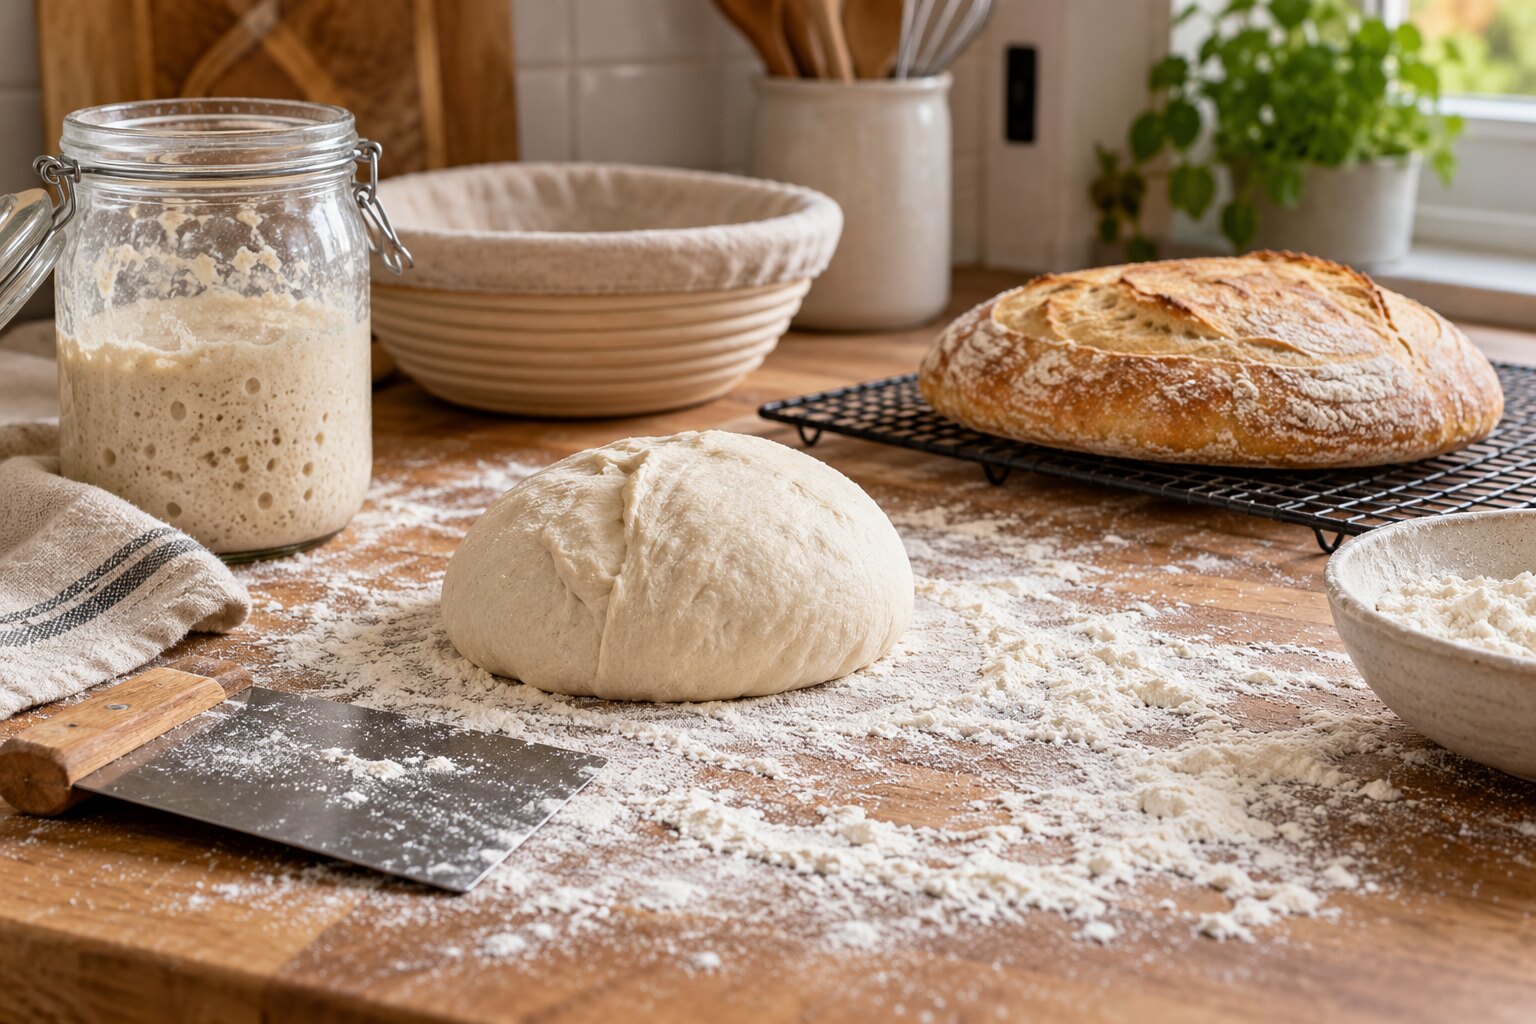
- 04Shape with enough tension to create a smooth outer surface without pressing all the gas out.
- 05Cool the loaf before judging the crumb.
What to track in your baking notes
- Starter feeding ratio and time
- Room and dough temperature
- How much the dough rose during bulk fermentation
- How the shaped dough felt during the final proof
- Oven spring, crumb texture, and whether the loaf spread
Small notes turn sourdough from a guessing game into a process you can learn. If your loaf is dense or gummy, compare the clues with Why Is My Sourdough Dense and Gummy? before changing the whole recipe.