Dense and gummy sourdough is often under-fermented, underbaked, cut too early, or made with more water than the dough can support. A weak starter and proofing errors can contribute too.
Start with the crumb, not the recipe
A dense or gummy loaf is frustrating because several problems can look similar after baking. Before changing the flour or adding more water, note whether the loaf was tall or flat, whether it sprang in the oven, how the dough felt before baking, and how long it cooled.
7 common causes and fixes
1. Bulk fermentation ended too early
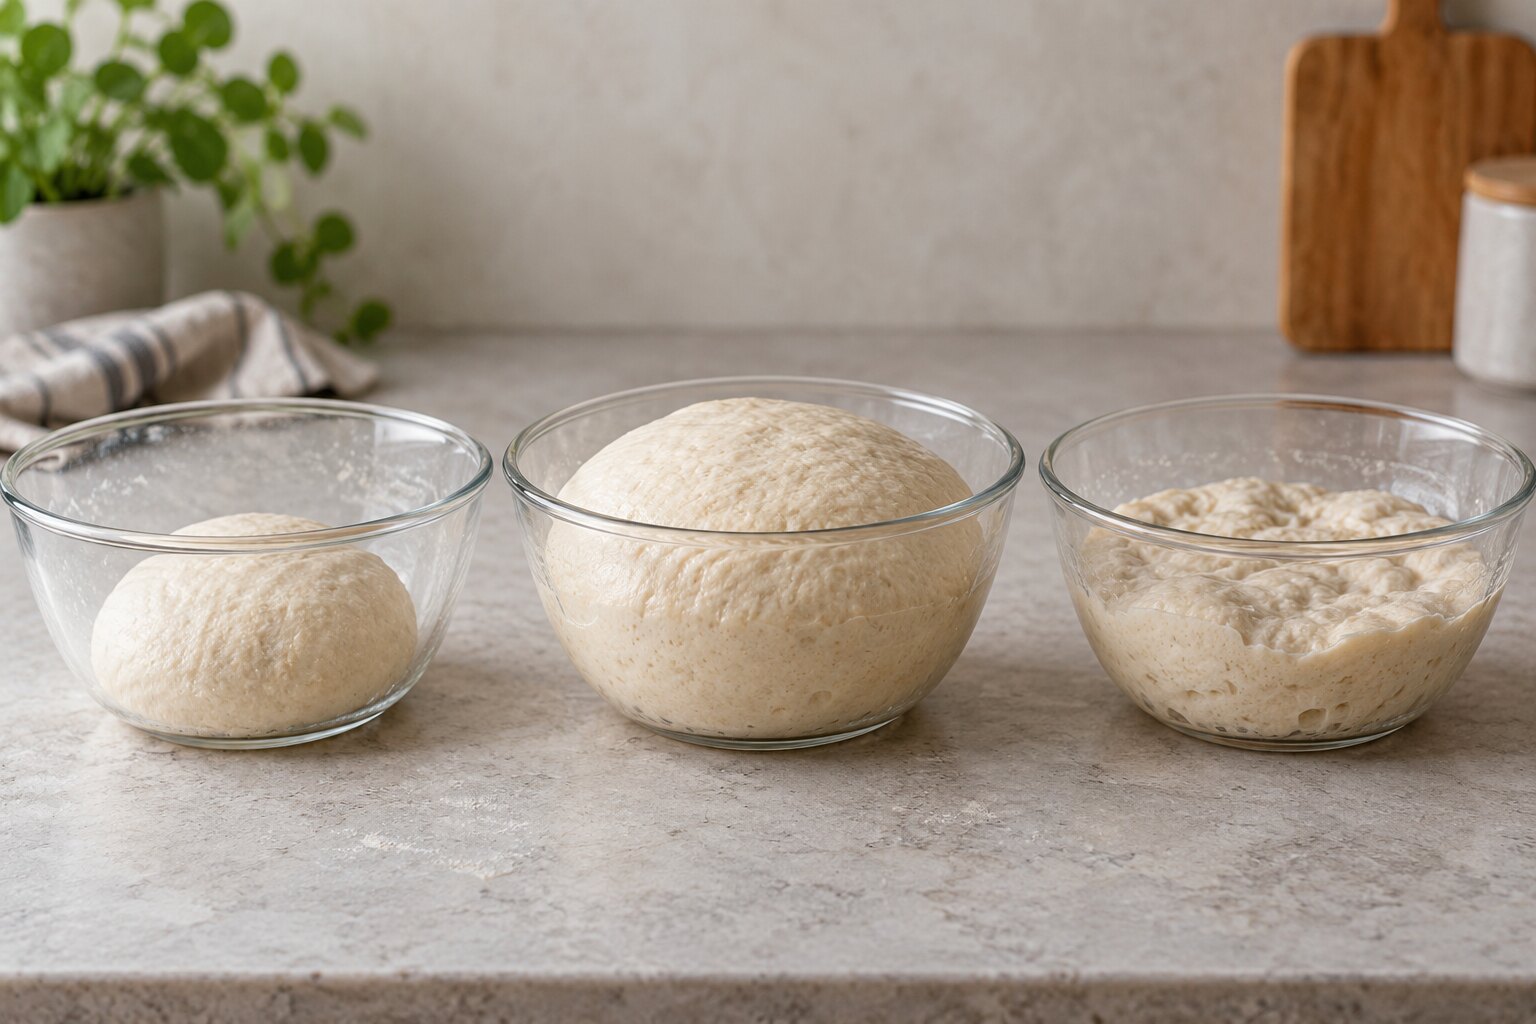
Under-fermented dough has not built enough gas or structure before shaping. The baked loaf may have a dense lower crumb, large irregular holes near the top, and a strong burst of oven spring.
Next time, continue bulk fermentation until the dough looks aerated, feels lighter, and has risen noticeably. Use How to Tell When Sourdough Bulk Fermentation Is Done to read the visual signs.
2. The starter was weak or used too early
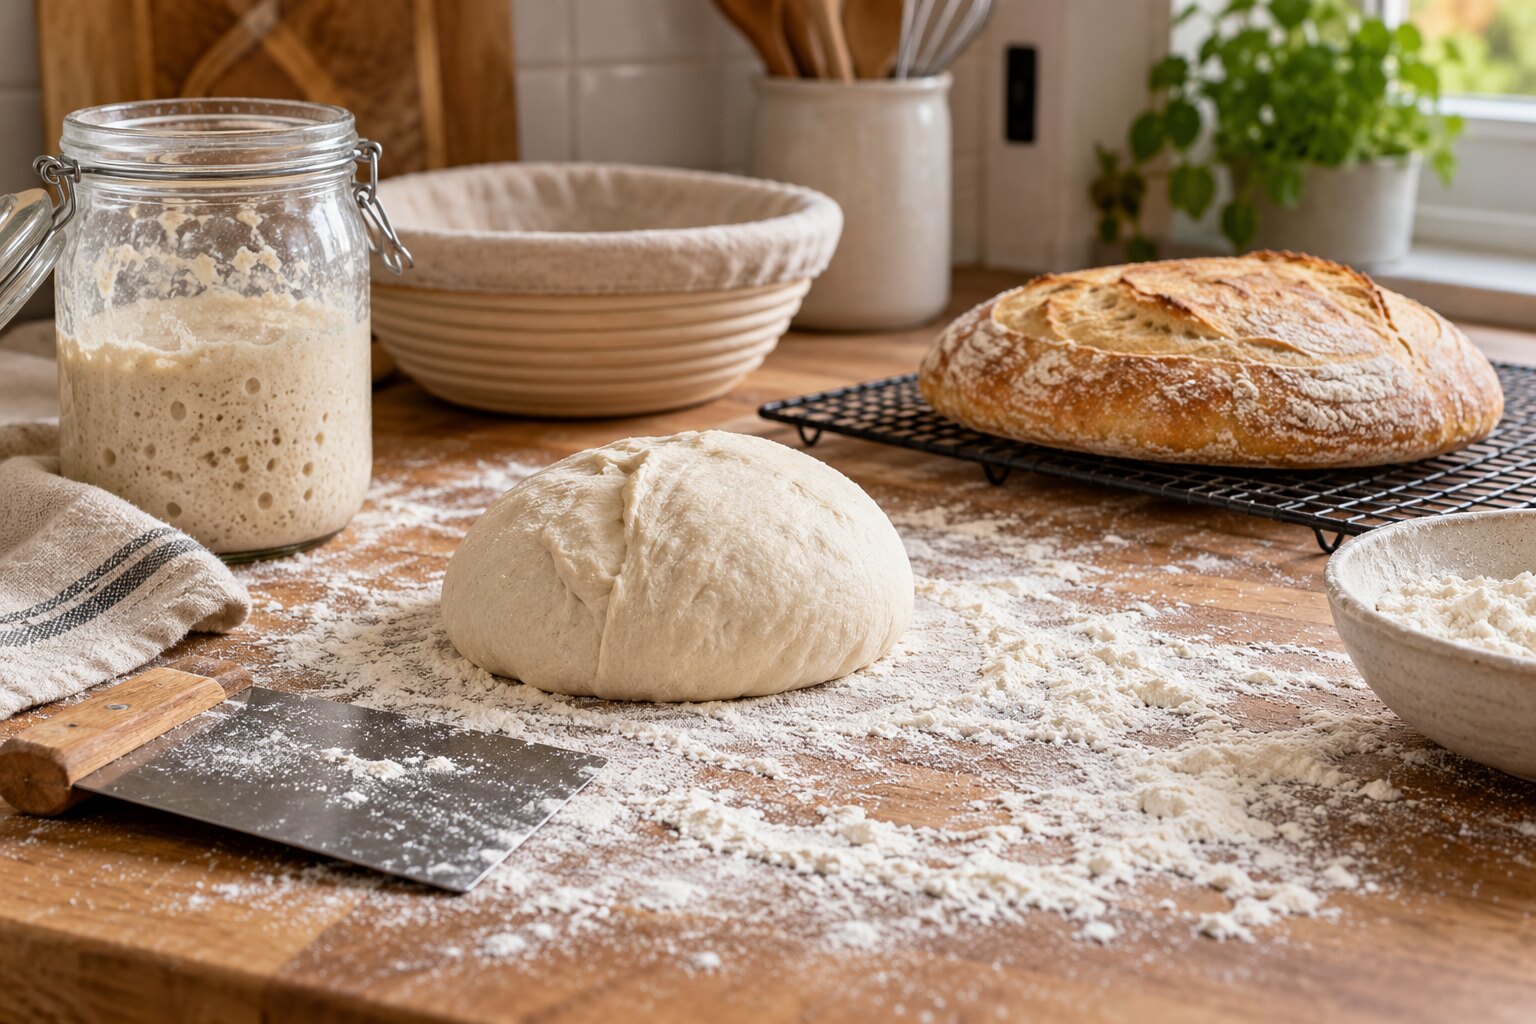
If the starter has only a few bubbles or has not risen predictably after feeding, it may not have enough strength to lift the dough. A young or neglected starter can ferment slowly even when the recipe timing looks correct.
Refresh it until it rises reliably, then use it close to its peak.
3. The bread was underbaked
A loaf can look beautifully brown while the center is still setting. If the crumb is sticky throughout, especially near the base, the bread may need more baking time or a longer uncovered finish to dry the crust.
Use the recipe’s temperature and timing as a starting point, but learn your oven. Let the loaf cool fully before deciding whether it was underbaked.
4. The loaf was cut too early
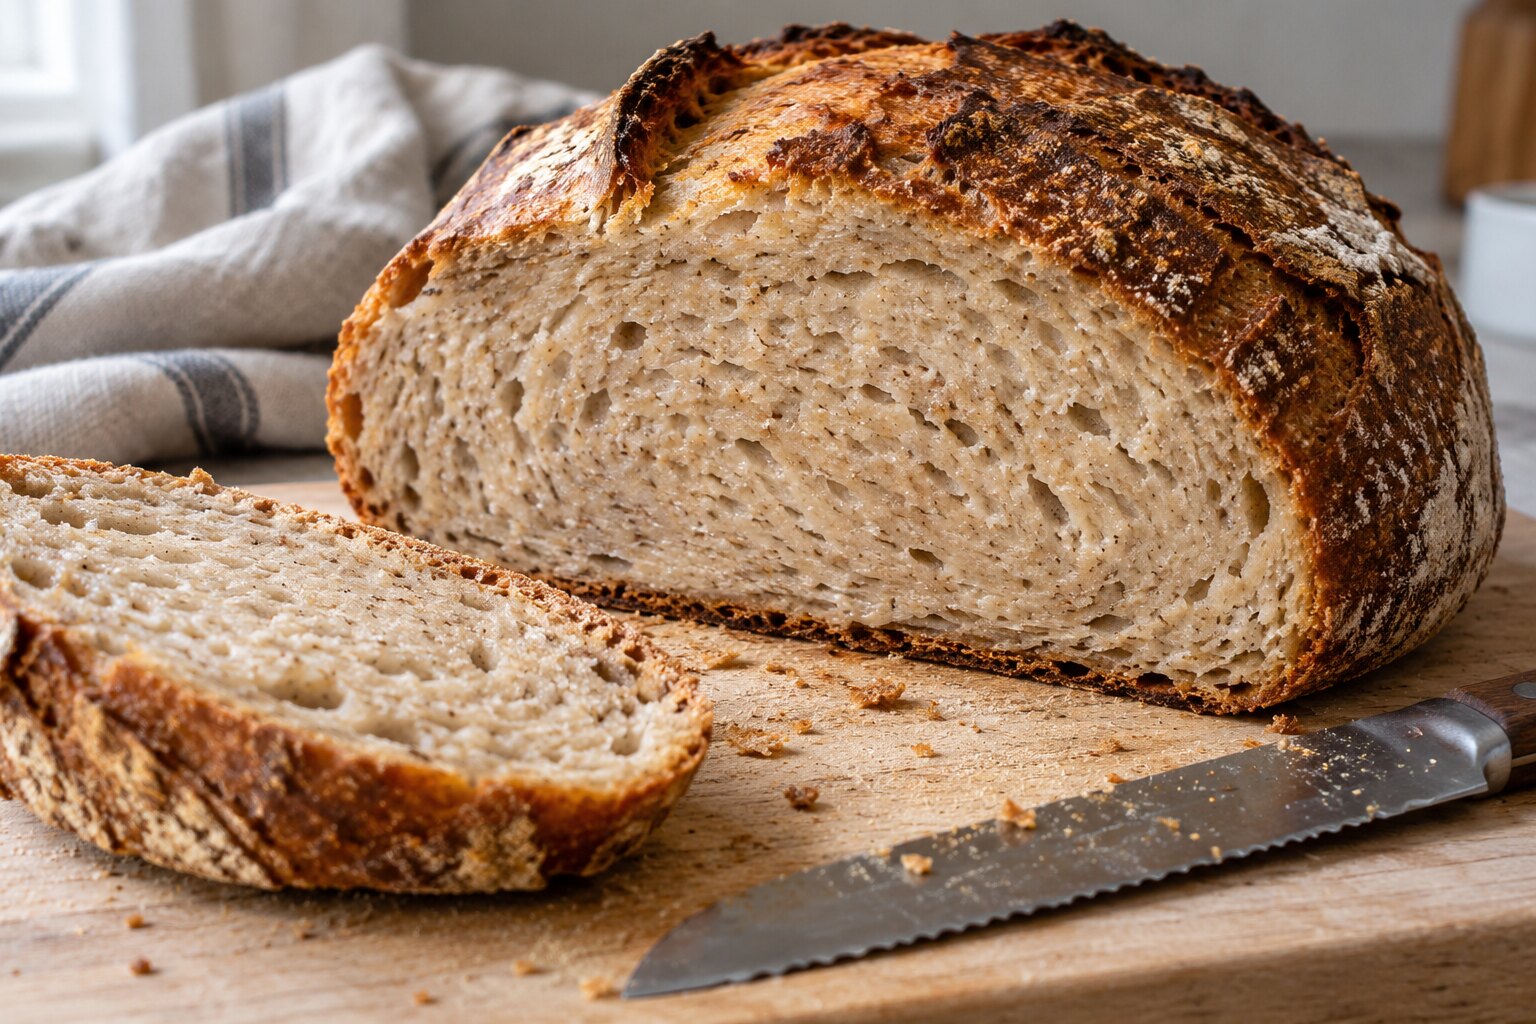
The crumb continues to firm as steam redistributes and the interior cools. Slicing a large loaf while it is hot can press the crumb into a gummy texture and make the center look wetter than it will later.
Wait until the loaf is cool enough to slice cleanly. The larger or more hydrated the loaf, the more patience it needs.
5. The dough contained more water than its flour could hold
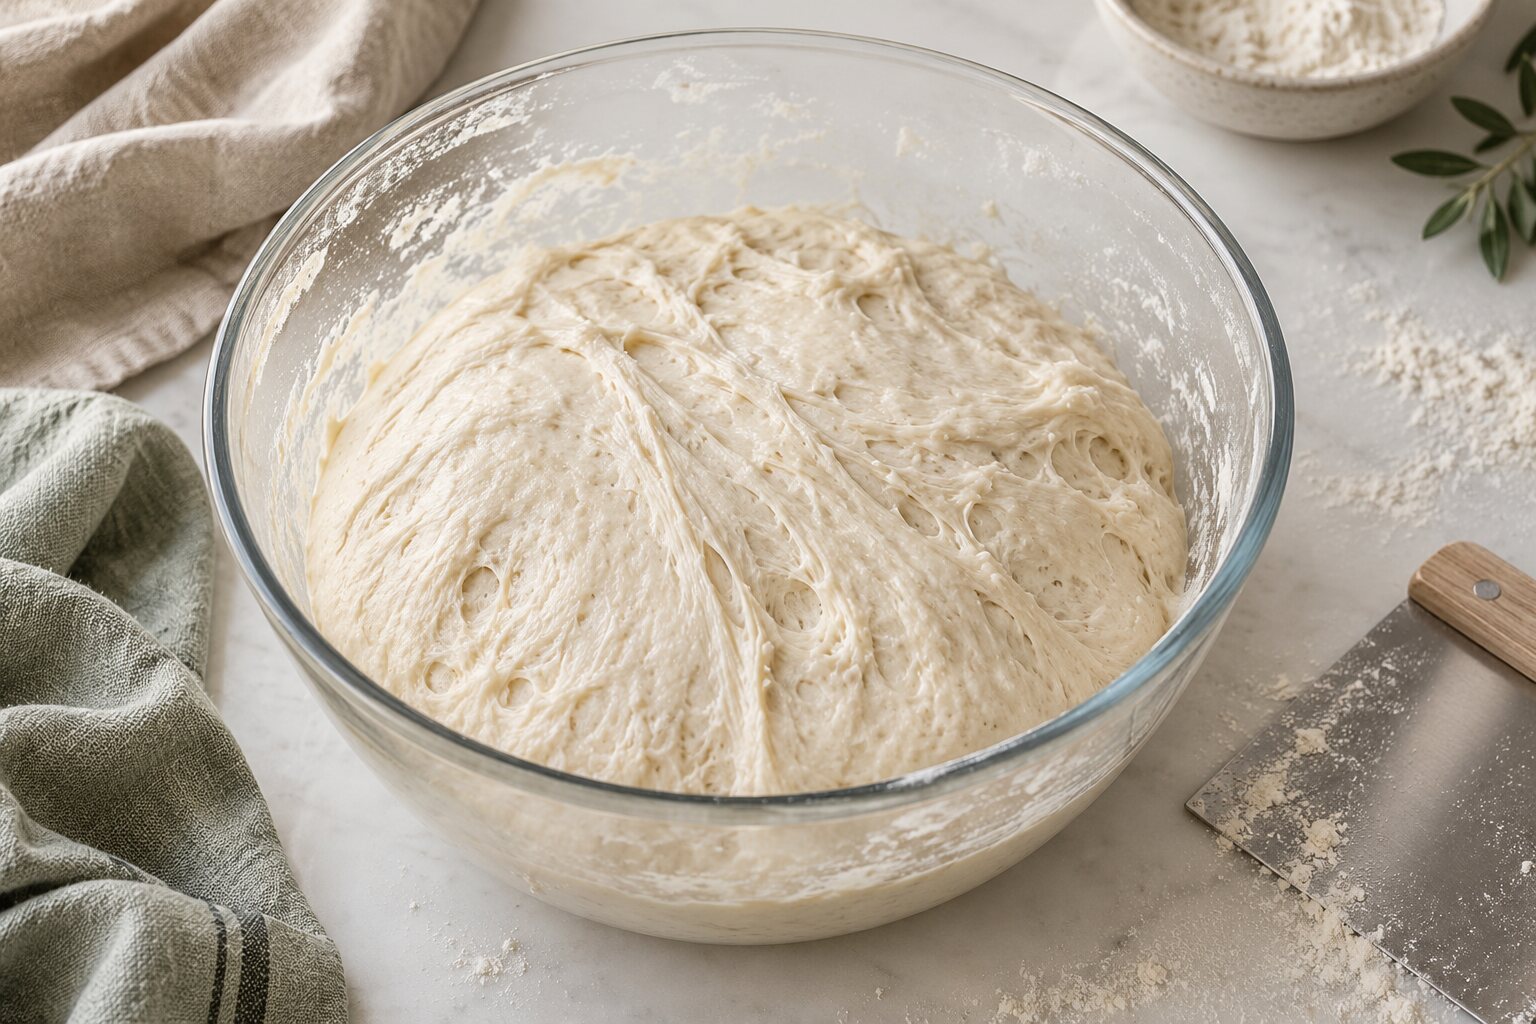
High hydration is not automatically better. Some flour absorbs less water, and whole-grain or lower-protein blends can change the dough’s strength. If the dough stays loose, spreads, and never becomes elastic, the hydration may be too high for your flour or technique.
Reduce the water slightly on the next bake and build strength with gentle folds.
6. The dough was overproofed
Overproofed dough can lose the structure that holds gas. The loaf may spread, have little oven spring, and bake with a flatter, sometimes dense crumb.
Shorten the warm fermentation or final proof and use the comparison in Is My Sourdough Overproofed or Underproofed?.
7. The dough was handled too roughly or not strengthened enough
Aggressive shaping can squeeze out useful gas, while too little mixing or folding can leave the dough unable to hold it. Aim for a smooth, supported dough rather than chasing a maximum number of folds.
A quick diagnosis
| What you notice | Most likely area to check | First change |
|---|---|---|
| Tall loaf with large tunnels and dense areas | Under-fermentation | Extend bulk or final proof slightly. |
| Flat loaf with little oven spring | Overproofing or weak structure | Bake sooner and strengthen the dough next time. |
| Sticky crumb everywhere | Underbaking or cutting early | Bake longer and cool fully. |
| Loose dough that never holds shape | Hydration or gluten strength | Reduce water slightly and add gentle folds. |
A simple plan for the next bake
- 01Use a starter that rises predictably after feeding.
- 02Keep the same flour and water formula so you can compare results.
- 03Mark the dough level and record the room temperature.
- 04Bake only when the dough shows enough aeration and strength.
- 05Cool the loaf before judging the crumb.
The goal is not a perfect open crumb on the first try. The goal is to identify one cause, make one adjustment, and build a process you can repeat.