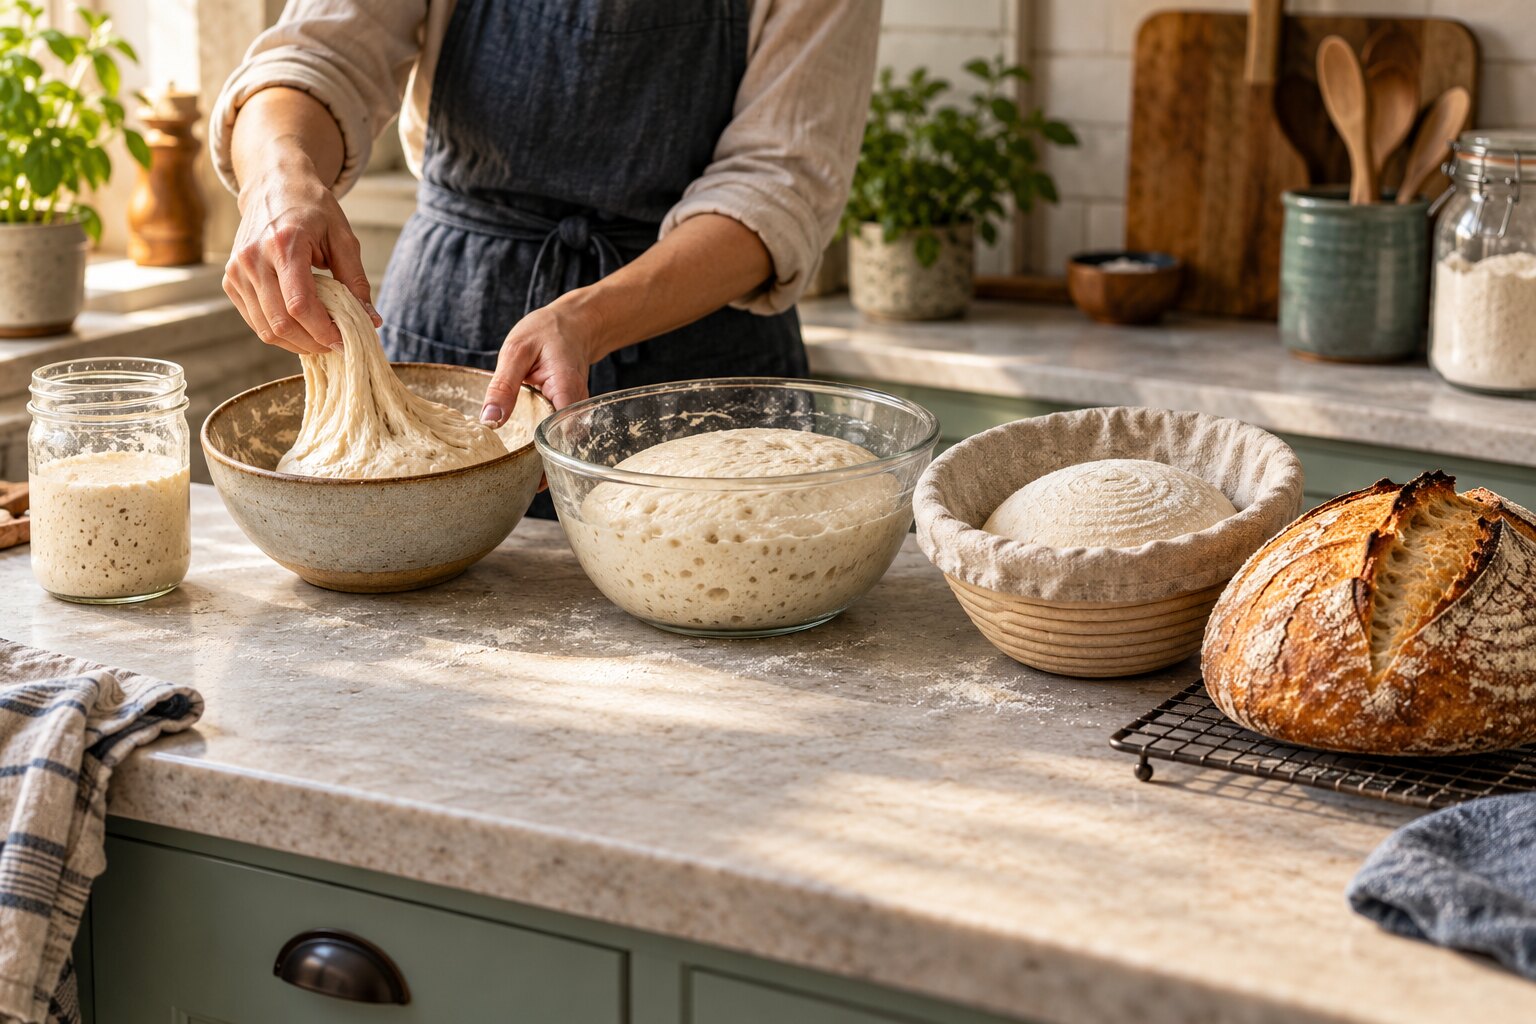
A beginner sourdough bake moves through starter feeding, mixing, resting, folds, bulk fermentation, shaping, cold proofing, and baking. The dough signs matter more than exact clock times.
Why the timeline is flexible
Sourdough is driven by living fermentation, so the same recipe can move quickly in a warm kitchen and slowly in a cool one. Starter maturity, flour, dough temperature, hydration, and the amount of starter in the dough all affect the pace.
Use the schedule below as a map, not a deadline. Your goal at each stage is to recognize what the dough is telling you.
The eight-stage beginner map
| Stage | Typical window | Look for |
|---|---|---|
| Starter feeding | 4–12 hours | A predictable rise, bubbles throughout, and a gently domed or just-starting-to-flatten top. |
| Mixing and rest | 20–60 minutes | Flour is hydrated and the dough becomes less shaggy after resting. |
| Stretch and folds | First 2–3 hours | Dough gains elasticity and holds its shape for longer between folds. |
| Bulk fermentation | 3–8+ hours | Dough looks aerated, rises noticeably, and jiggles when the container moves. |
| Shaping | 15–30 minutes | A smooth outer skin forms and the dough has enough tension to hold a round or oval shape. |
| Cold proof | 8–16 hours | Dough slowly continues fermenting while becoming easier to score cold. |
| Preheat and score | 30–60 minutes | Oven is fully hot and the chilled dough keeps its shape when turned out. |
| Bake and cool | 40–60 minutes plus cooling | Crust is deeply colored and the crumb has time to set before slicing. |
A practical overnight example
Imagine you want bread for Saturday morning. Feed your starter on Friday morning and use it when it has risen reliably. Mix the dough in the afternoon, complete the early folds, and let bulk fermentation continue until the dough is visibly lighter and aerated.
- 0108:00 — Feed the starter and mark its starting height.
- 0214:00 — Mix flour, water, active starter, and salt. Rest the dough.
- 0314:30–16:30 — Complete several gentle stretch-and-fold sets while the dough strengthens.
- 0416:30 onward — Continue bulk fermentation until the dough shows the right signs, not simply until a timer ends.
- 0519:00–21:00 — Shape the dough and place it in a floured basket.
- 06Overnight — Cover and cold-proof in the refrigerator.
- 0707:00 — Preheat the oven, score the cold dough, and bake.
- 08After baking — Cool before slicing so the crumb can finish setting.
How to read bulk fermentation
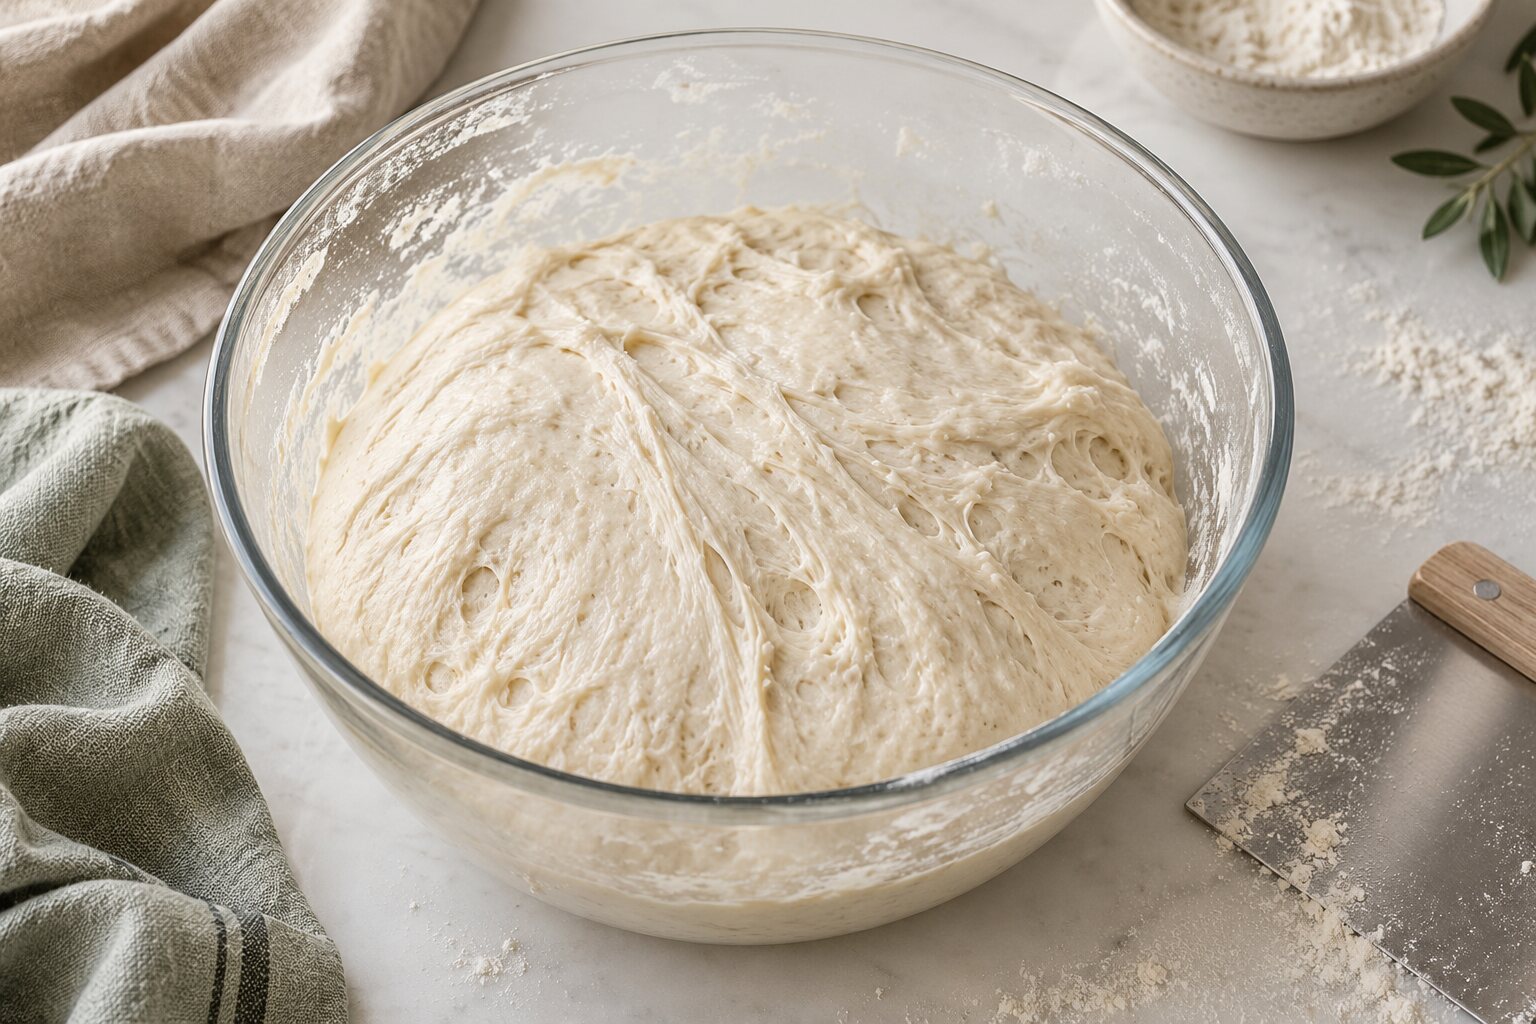
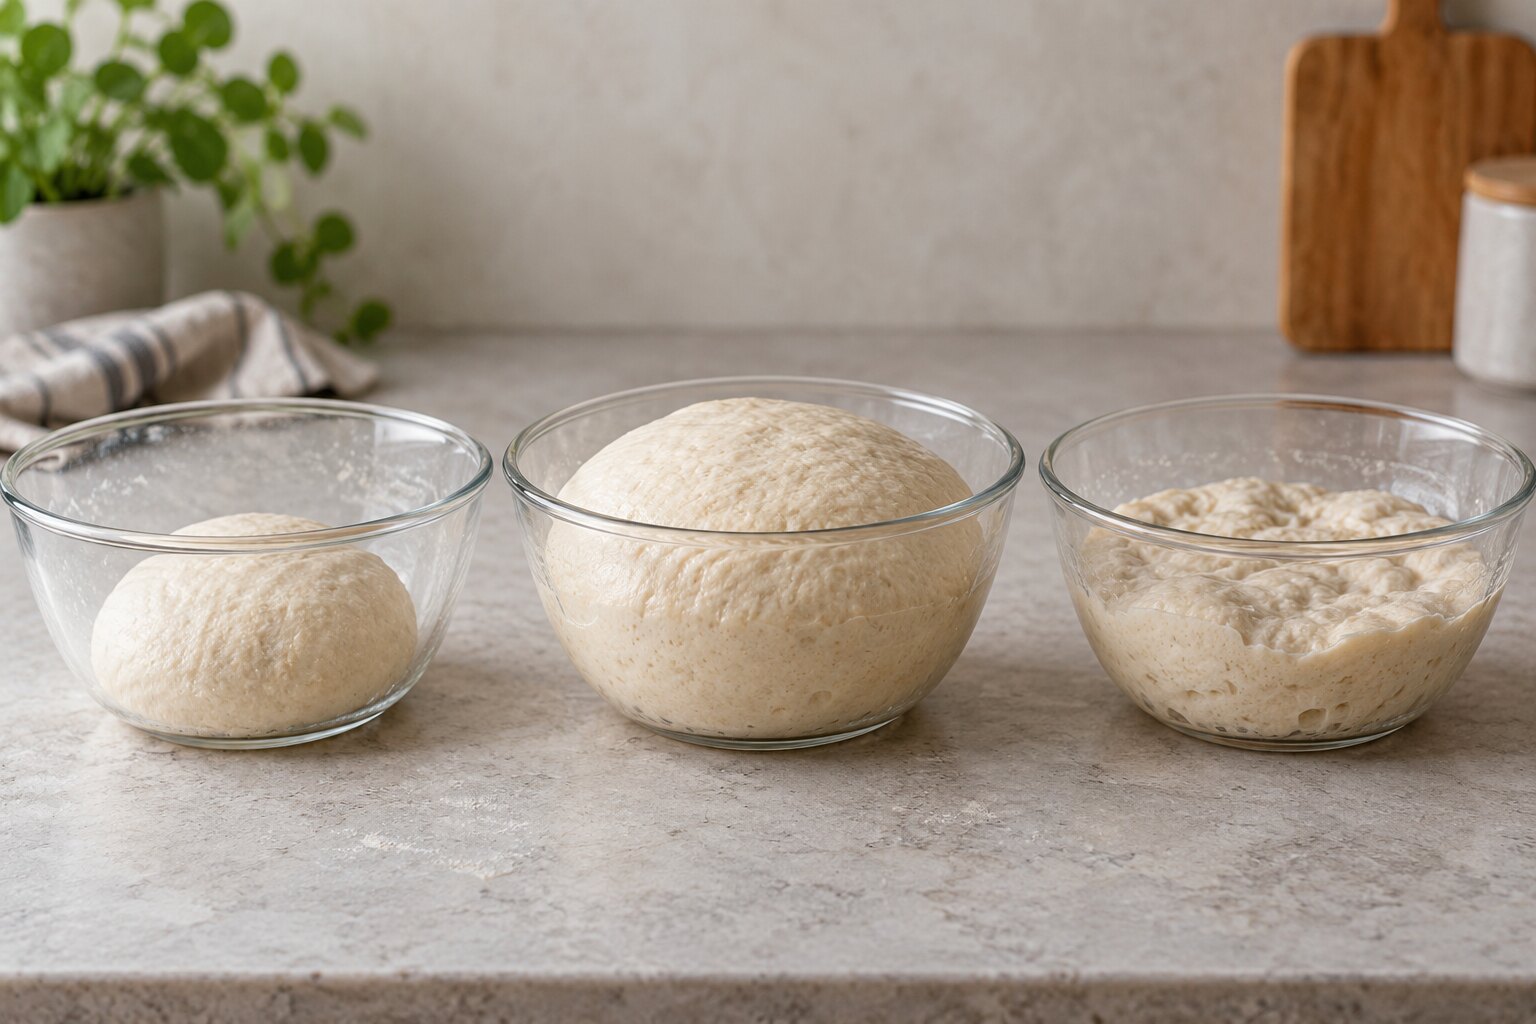
At the beginning, the dough may look dense and feel sticky. As fermentation develops, it should become smoother, hold more air, and feel lighter when you lift an edge. Bubbles along the side of a clear container are useful, but the total rise depends on the formula and temperature.
For more detailed cues, use How to Tell When Sourdough Bulk Fermentation Is Done and avoid treating “doubled” as a universal rule.
When the dough is not on schedule
The beginner rule that helps most
Keep the formula simple, measure by weight, and make notes. Once you learn how your starter and kitchen behave, the timeline becomes predictable enough to plan around—even though it will never be identical every day.