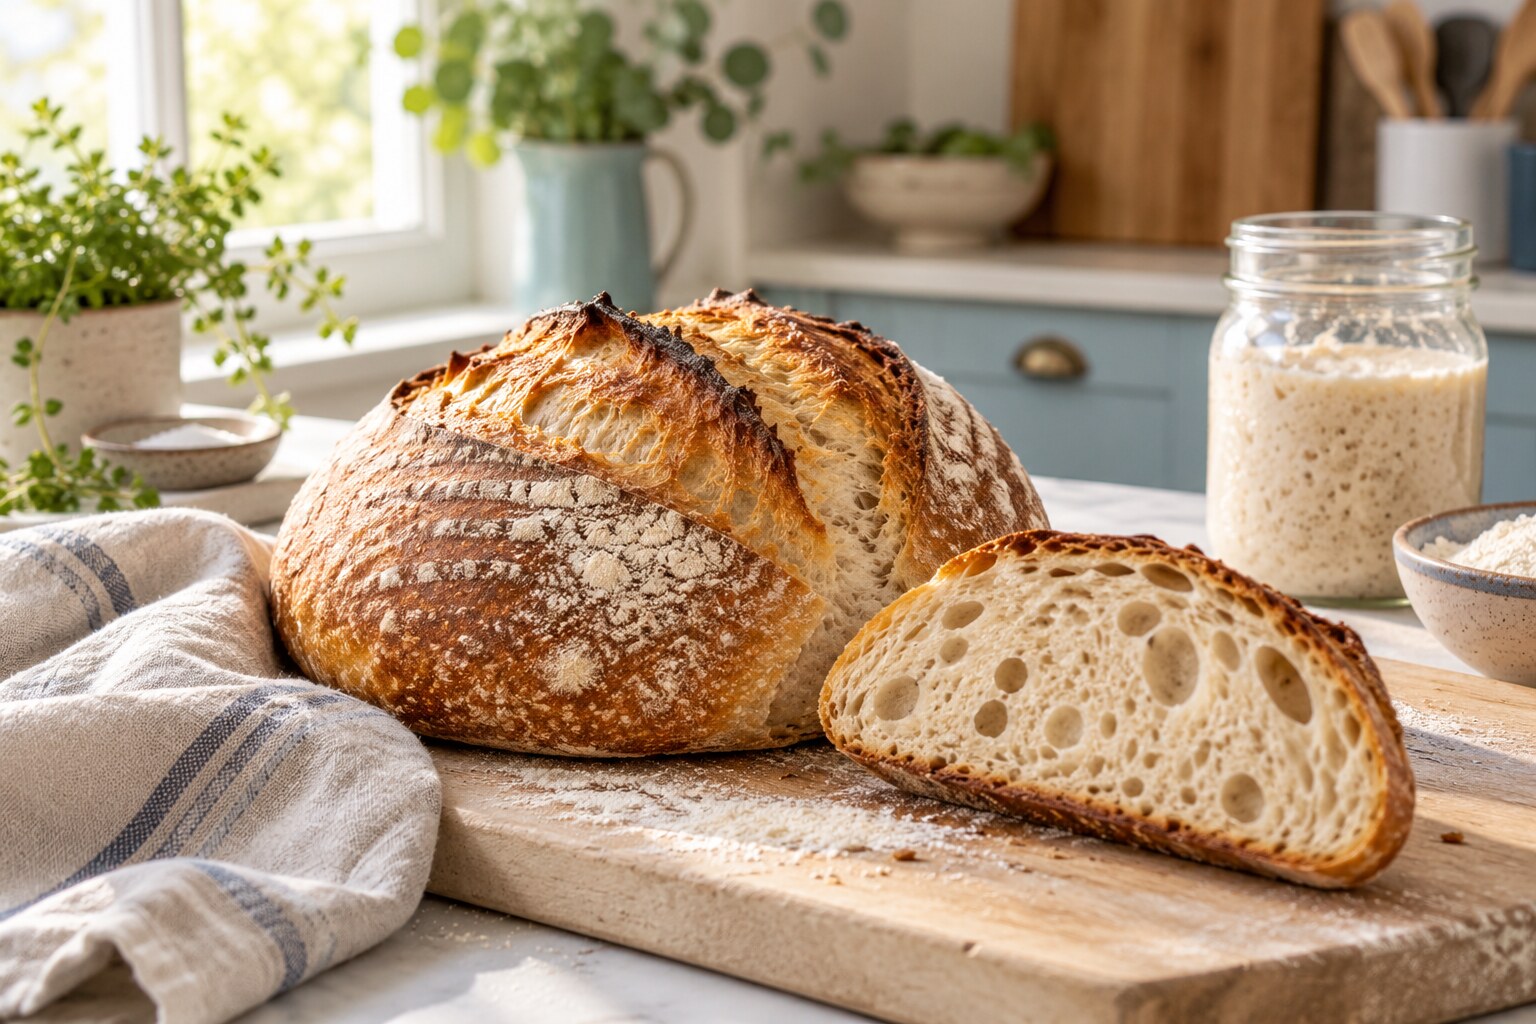
Use 500 g bread flour, 350 g water, 100 g active starter, and 10 g salt. Mix the dough, build strength with gentle folds, bulk ferment until lighter and aerated, shape, proof, and bake in a fully preheated Dutch oven.
Why this recipe is beginner-friendly
This loaf uses a simple four-ingredient formula and focuses on the signs that matter more than a rigid clock. You will learn how the dough should feel after mixing, how much strength the folds create, when bulk fermentation is far enough, and how to bake a loaf with a crisp crust and soft crumb.
Ingredients and simple tools
- 500 g bread flour for a dough that is easier to shape.
- 350 g room-temperature water for a moderately hydrated beginner loaf.
- 100 g active sourdough starter that rises predictably after feeding.
- 10 g fine sea salt for flavor and dough strength.
- A digital scale, mixing bowl, dough scraper, clean tea towel, and Dutch oven or covered baking pot.
- A banneton or a bowl lined with a well-floured cloth for the final proof.
Before you mix the dough
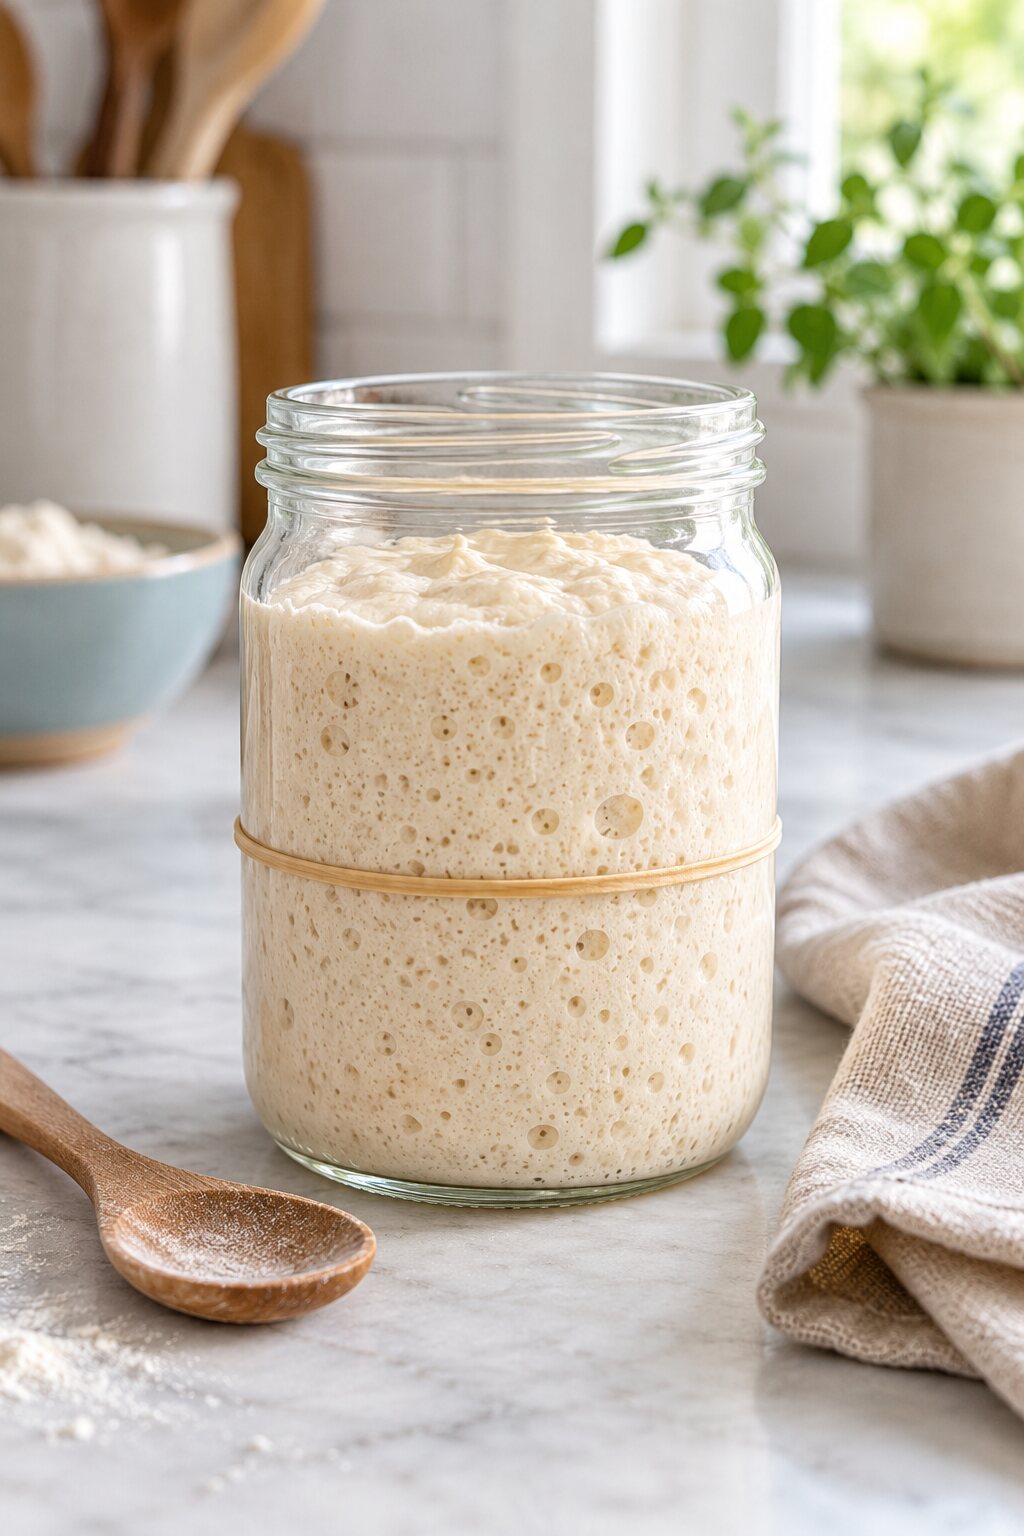
Your starter should be active, bubbly, and close to its usual peak. If you are unsure, read When Is Sourdough Starter Ready to Bake With? and use the starter when it has risen predictably for at least two or three feedings. A strong starter makes the rest of the process easier to read.
Step-by-step method
1. Mix the flour and water
Add 500 g bread flour and 350 g water to a bowl. Mix with your hand or a dough whisk until no dry flour remains. Cover the bowl and rest it for 30 minutes. This short rest hydrates the flour and makes the dough easier to strengthen later.
2. Add the starter and salt
Add 100 g active starter and 10 g salt. Pinch, fold, and squeeze the dough until the starter and salt are evenly distributed. The dough may feel sticky at first, but it should become more cohesive after a few minutes of mixing.
3. Build strength with gentle folds
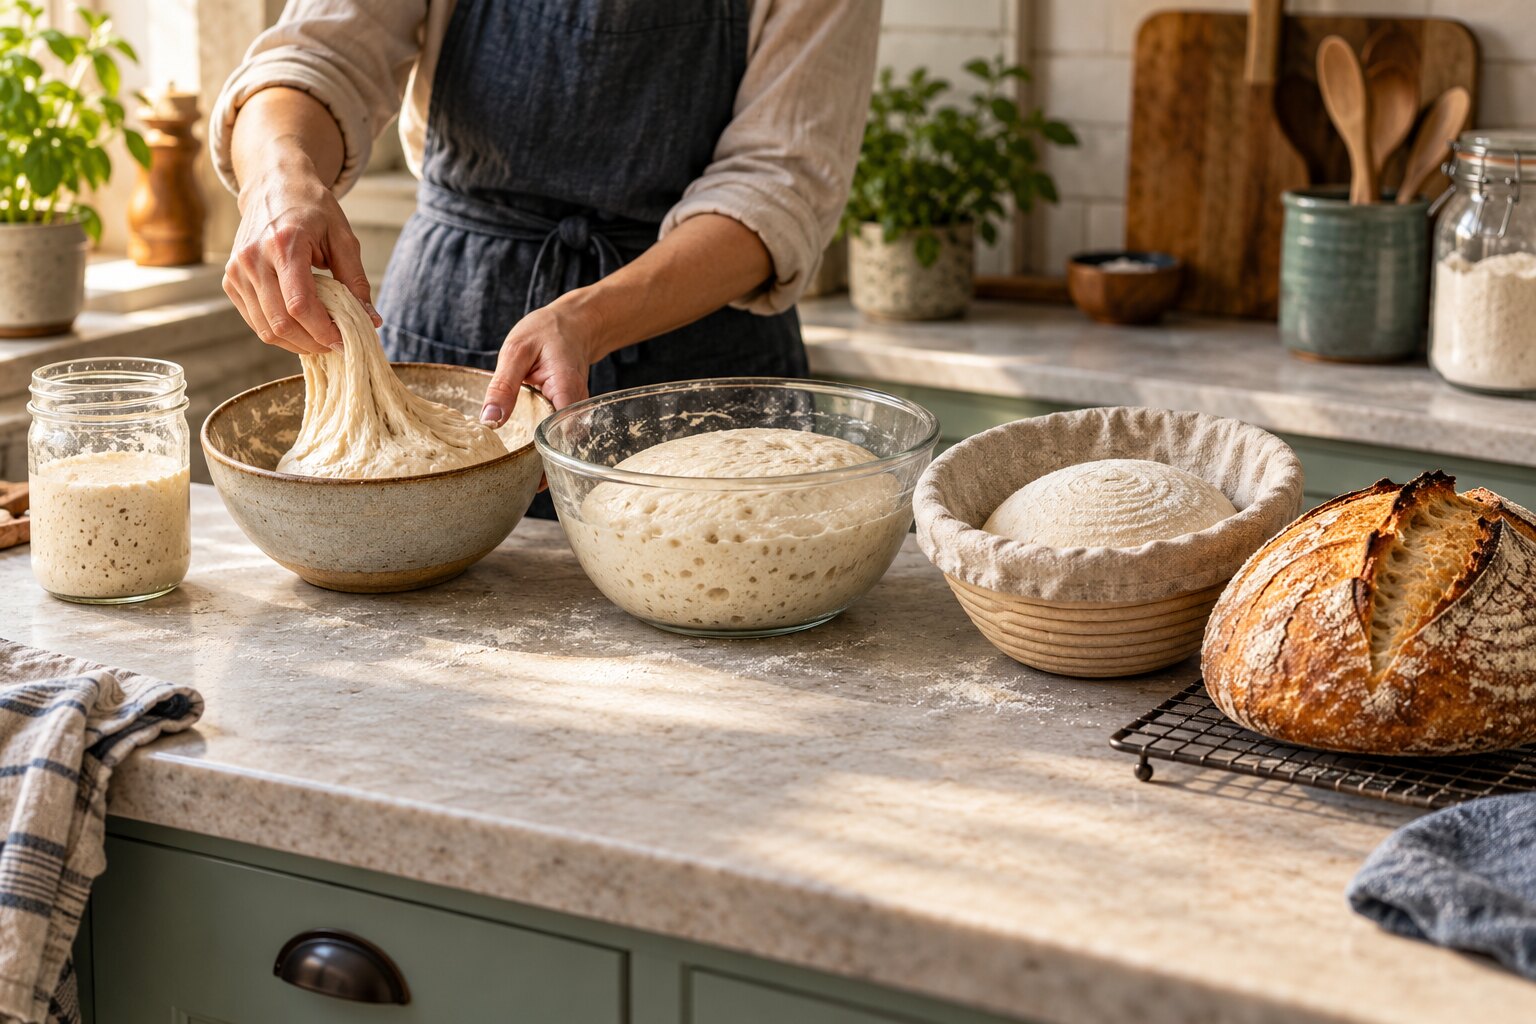
For the first two hours, complete three or four sets of stretch-and-folds about 30 minutes apart. Lift one side of the dough, stretch it gently without tearing, and fold it over the centre. Turn the bowl and repeat until you have worked around the dough. Keep the movements calm; the goal is to build structure without pressing out every bubble.
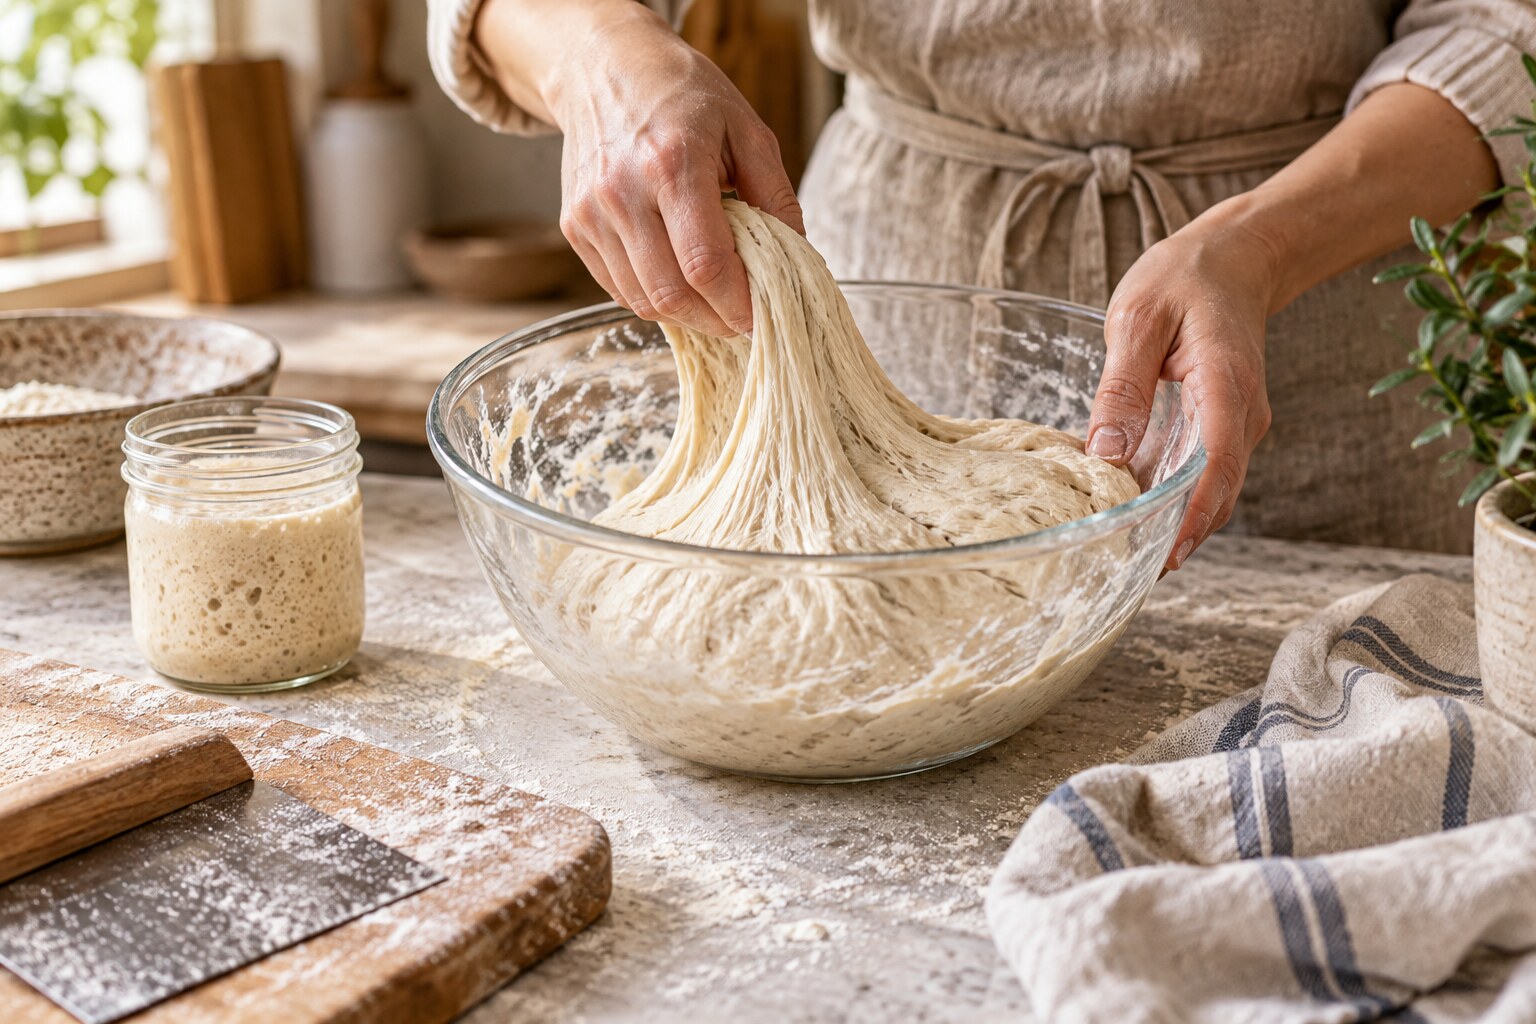
4. Bulk ferment until the dough is ready
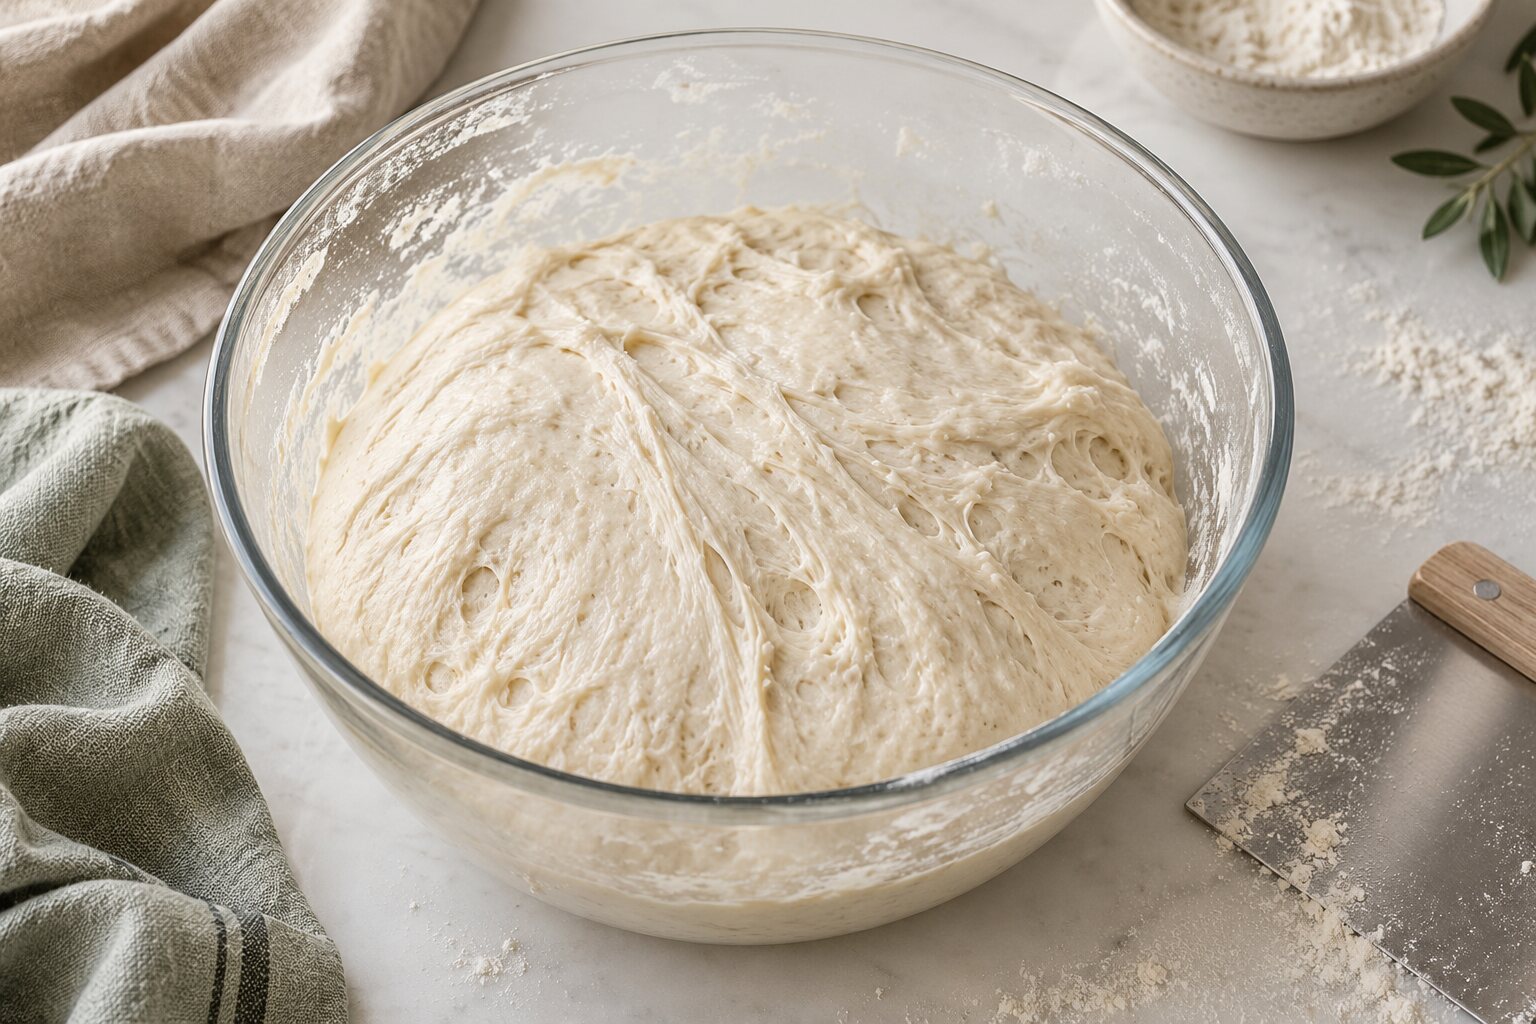
Cover the dough and leave it at room temperature until it looks smoother, lighter, and slightly domed at the edges. Depending on your starter and kitchen temperature, this may take about four to eight hours after mixing. Use the dough rather than the clock as your guide.
| Stage | What to look for |
|---|---|
| Early bulk | The dough is sticky, heavy, and spreads quickly after each fold. |
| Developing | The dough feels stronger, holds its shape for longer, and shows small bubbles. |
| Ready to shape | The dough is lighter, gently jiggly, expanded by about 30–50%, and has bubbles around the sides. |
5. Pre-shape and shape the loaf
Turn the dough onto a lightly floured counter. Use a scraper to create a loose round, then let it rest uncovered for 20–30 minutes. Shape it by folding the outer edges toward the centre and then creating gentle surface tension as you tighten the round. Avoid adding too much flour because it can make the seam difficult to seal.
6. Proof the shaped dough
Place the shaped dough seam-side up in a floured banneton or lined bowl. For a same-day bake, proof it at room temperature for one to two hours, depending on how warm your kitchen is. For more flavor and easier scoring, cover it and refrigerate it for eight to sixteen hours.
7. Bake in a fully preheated Dutch oven
Preheat the oven and Dutch oven to 250°C for at least 45 minutes. Turn the cold dough onto parchment, score the top, and lower it carefully into the hot pot. Bake covered for 20 minutes so the steam supports oven spring. Remove the lid, reduce the oven to 220°C, and bake for another 20–25 minutes until the crust is deeply golden.
How to know the loaf is baked
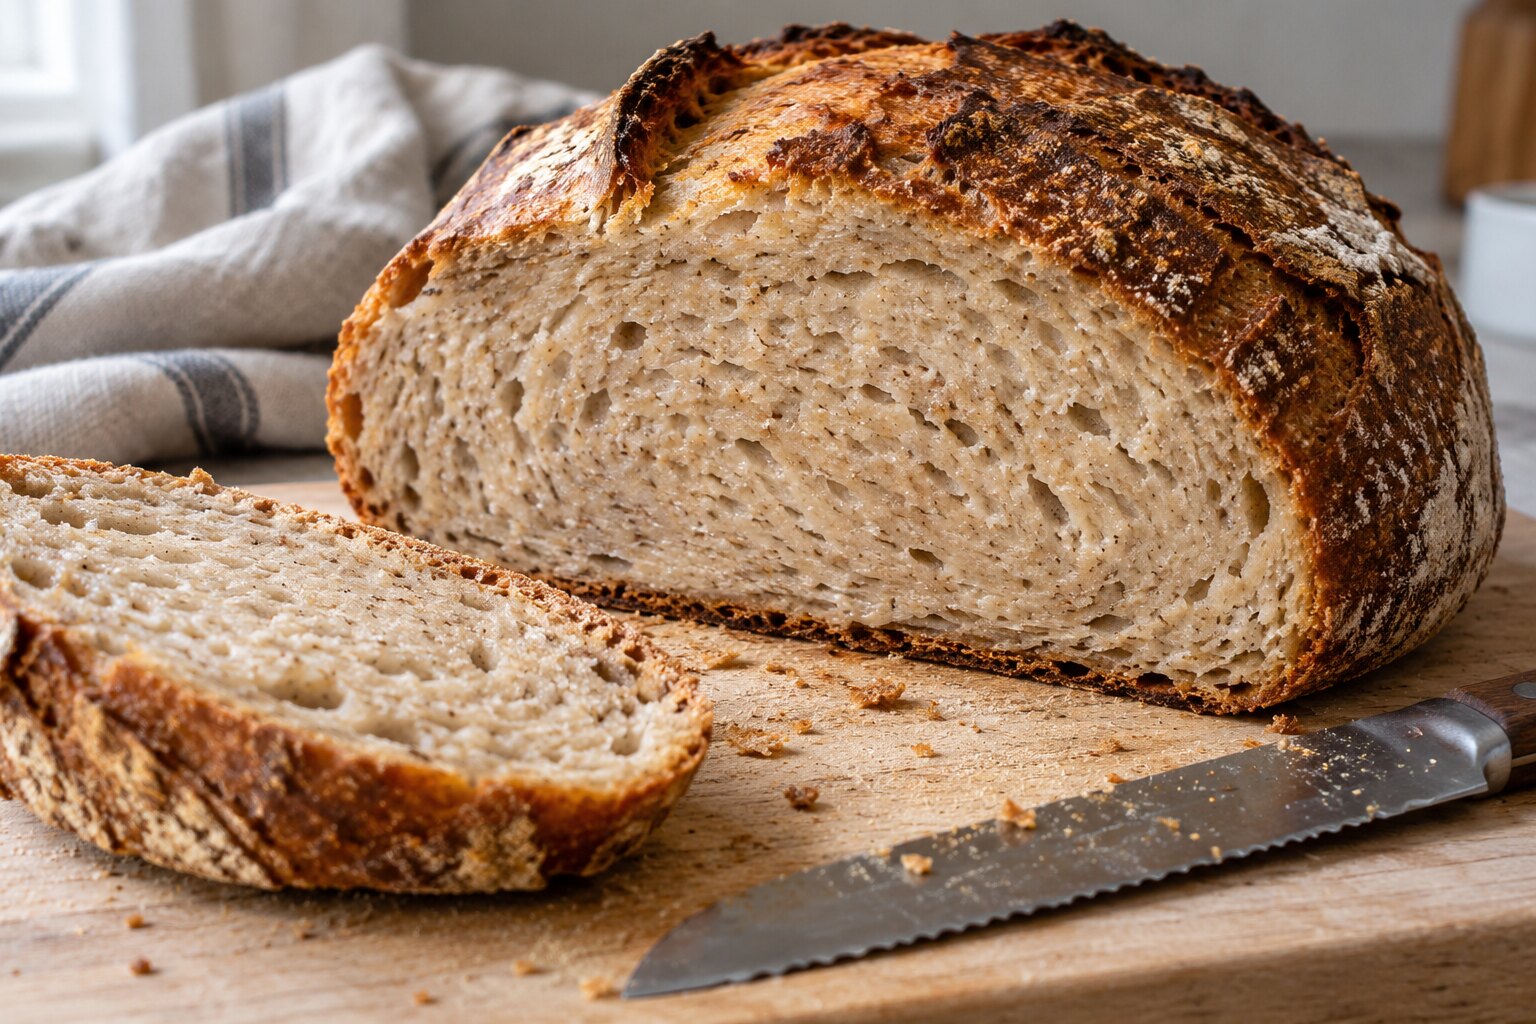
- The crust is a deep golden brown rather than pale blond.
- The loaf feels lighter than it did before baking and sounds hollow when tapped.
- The centre is set and no longer looks wet or gummy when the loaf has cooled.
- The loaf has rested for at least one hour before slicing.
Common problems and fixes
Cooling and storage
Let the loaf cool on a rack for at least one hour before slicing. The crumb continues to set as it cools, so cutting too early can make a properly baked loaf look gummy. Store the cooled bread in a bread bag or wrapped at room temperature for two to three days. Slice and freeze what you will not eat soon, then toast slices straight from frozen.
Easy sourdough bread FAQ
Can I use all-purpose flour?
Yes. All-purpose flour can work, but the dough may feel softer and spread more than dough made with bread flour. Hold back 10–20 g of the water at first and add it only if the dough feels strong enough.
Can I bake the dough straight from the fridge?
Yes. A cold final proof is often easier to score and can help the loaf keep its shape. Transfer the dough from the fridge to parchment, score it, and bake it in the fully preheated pot.
How do I make the timing fit my day?
Feed the starter in the morning, mix the dough when it reaches peak activity, and shape it in the evening for an overnight refrigerator proof. Bake the loaf the next morning. In a warm kitchen, use a larger feeding ratio or cooler water if the starter peaks too quickly.
Once you are comfortable with this simple loaf, The Original Sourdough Bread Recipe gives you another clear beginner process for connecting starter readiness with fermentation, shaping, proofing, and baking.
Easy Sourdough Bread: Step-by-Step Guide
Ingredients
- 500 g bread flour
- 350 g room-temperature water
- 100 g active sourdough starter
- 10 g fine sea salt
Instructions
- 01Mix the flour and water until no dry flour remains. Rest for 30 minutes.
- 02Add the active starter and salt, then mix until the dough becomes cohesive.
- 03Complete three or four gentle stretch-and-folds during the first two hours.
- 04Bulk ferment until the dough is lighter, aerated, and about 30–50% larger.
- 05Shape the dough, place it seam-side up in a floured banneton or lined bowl, and proof.
- 06Bake in a preheated Dutch oven at 250°C covered for 20 minutes, then at 220°C uncovered for 20–25 minutes.
- 07Cool for at least one hour before slicing so the crumb can finish setting.