Flat sourdough often comes from over-fermentation, a weak starter, too much water for the flour, insufficient gluten development, or loose shaping.
Start with the pattern, not the blame
A sourdough loaf that spreads can feel like a dramatic failure, but the shape gives you information. If it spreads before baking, the dough may be too wet, weak, or over-fermented. If it rises in the oven but later collapses, the crumb may be underbaked or the structure may not have set.
7 common causes and fixes
Read the dough before shaping
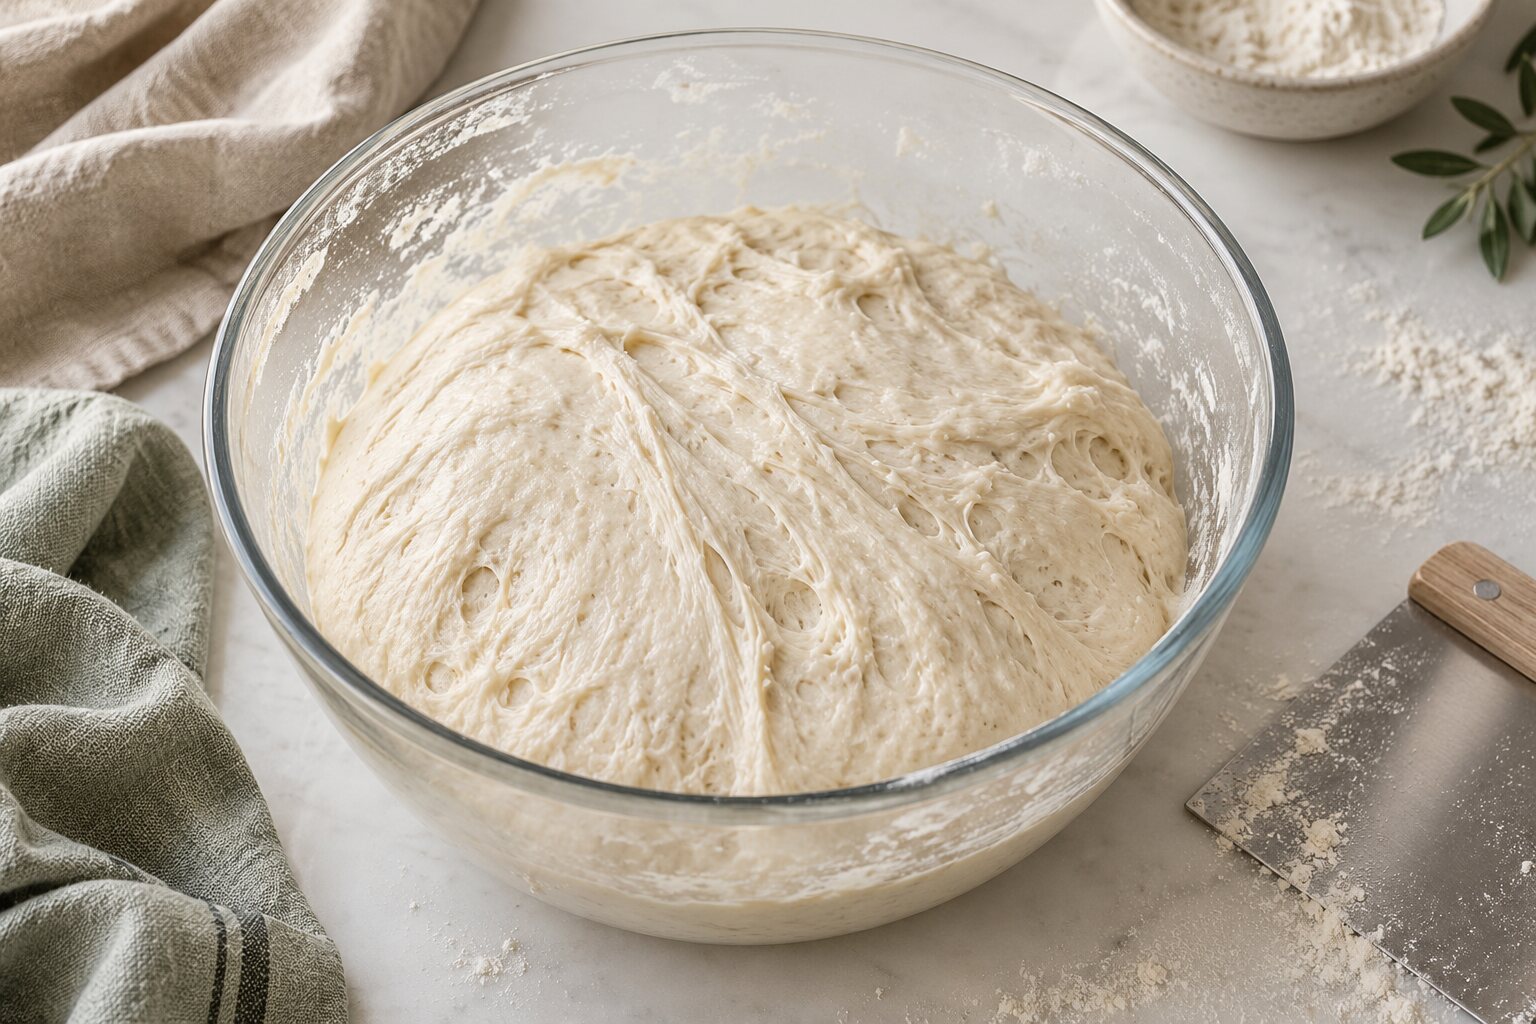
A healthy dough should feel elastic and hold a rounded edge when you turn the bowl. If it is very sticky and puddles across the counter, treat that as a warning. You may be late in bulk, working with too much water, or using a flour that needs more strength.
Build strength without tearing
During the first 90 minutes, complete stretch-and-folds or coil folds every 20–30 minutes. Lift enough dough to feel resistance, then fold it over itself. Stop when the dough becomes smoother; excessive handling can remove the gas you are trying to build.
Shape for support
After a short bench rest, gently pre-shape the dough, rest it, then tighten the final shape by dragging it lightly across the unfloured counter. Use flour only where needed. Too much flour prevents the dough from gripping the surface and makes tension difficult to create.
If you are rebuilding your whole process, The Original Sourdough Bread Recipe gives you a simple formula and sequence to repeat while you change one variable at a time.
A simple next-bake plan
- 01Use an active starter that rises predictably.
- 02Reduce water by 20 g if your dough was impossible to shape.
- 03Mark the dough level and stop bulk around a moderate rise.
- 04Shape with a smooth, taut outer skin.
- 05Proof until puffy but still resilient.
- 06Preheat the oven and baking surface thoroughly.
What success looks like
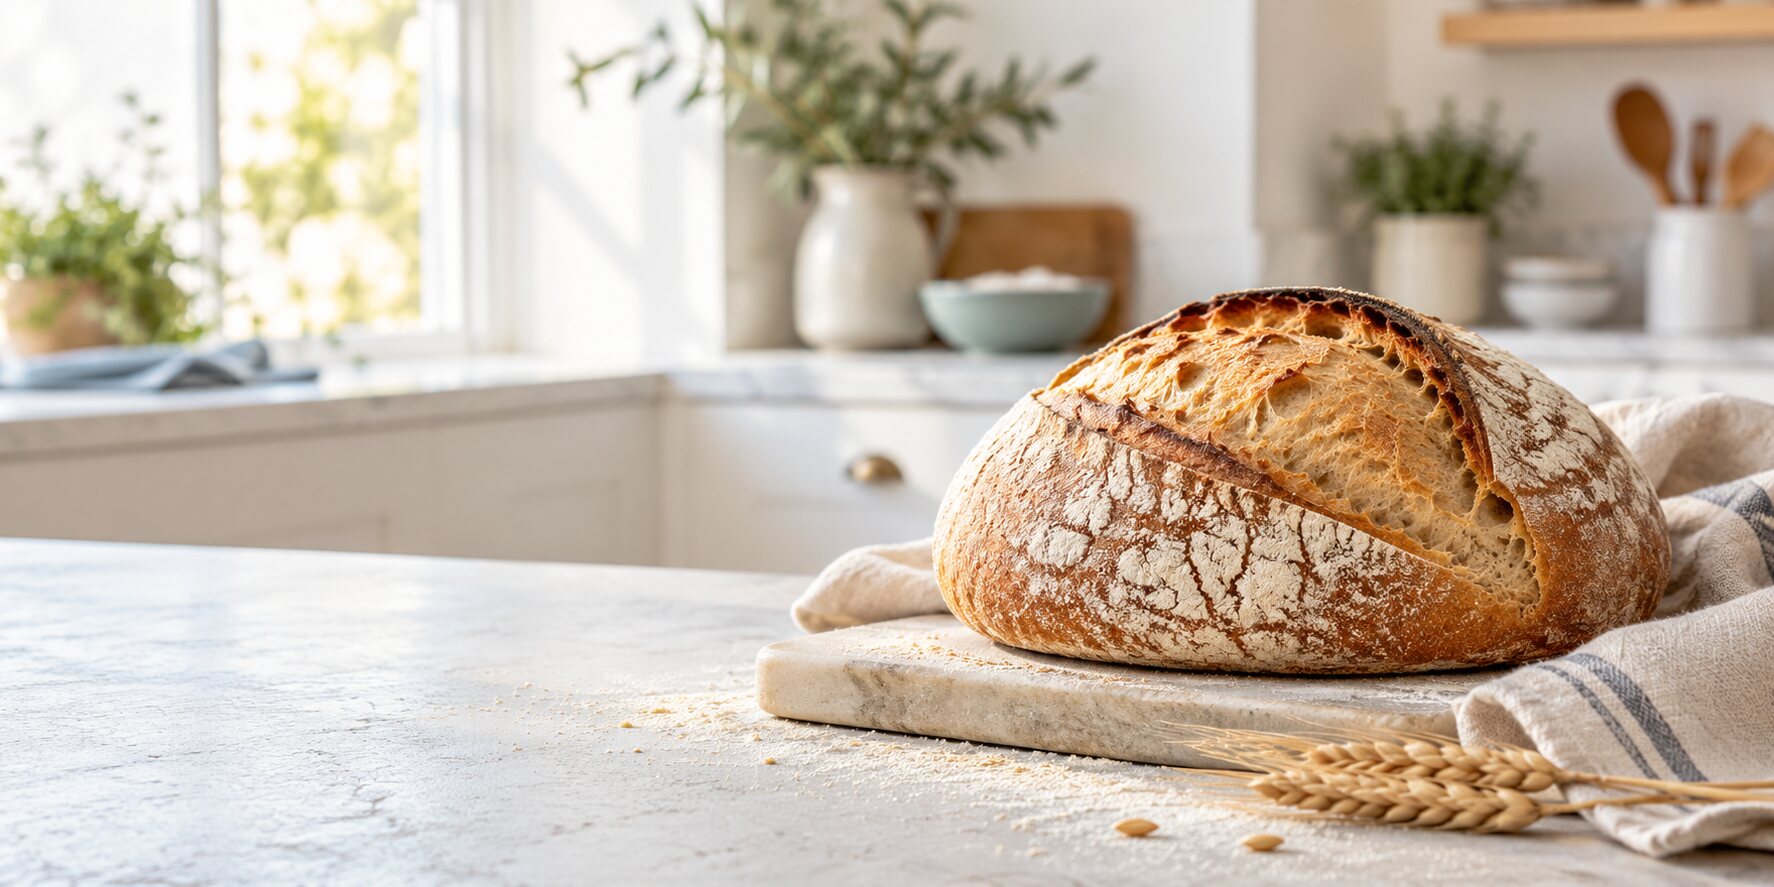
You are looking for a loaf that holds a rounded form before baking, expands at the score, and cools without collapsing. Take notes about flour, room temperature, starter timing, and dough temperature. A small notebook will teach you more than changing five things at once.